Solar Lighted Address Signs FAQ: Pre-Installation Prep, Mounting & Performance Guide
Scenario: Imagine a delivery driver circling your block at 9:00 PM or an emergency responder searching for your home during a heavy storm. Unlit house numbers cause delays when seconds count. Upgrading to a solar lighted address sign solves this immediately.
Solar lighted address signs require 6 to 8 hours of direct, unshaded sunlight to fully charge their 600mAh Ni-MH battery, providing up to 12 hours of warm LED illumination at night. Mount the IP44 waterproof sign 4 to 6 feet above ground level on brick, vinyl siding, stucco, or wood using surface-matched anchors for optimal roadside legibility and long-term durability.
Pre-Installation Choice & Location Evaluator
Evaluate wall orientation, shadow clearance, and surface material before drilling to ensure continuous 12-hour illumination and robust installation.
Best choice for
- Direct Wall Mounting — Captures 6 to 8 hours of direct daylight energy, ensuring maximum battery charge for 12 hours of nighttime LED light.
- Curb-Facing Wall Mount — Provides a direct line-of-sight for emergency personnel and delivery drivers 50+ feet away while maintaining unobstructed sun access.
- Target wall sits beneath deep roof eaves or porch overhangs (>12 inches) that cast constant daytime shadow over the solar panel
- Target location is within 6 feet of strong artificial light sources (porch lights, floodlights) that trigger the daytime sensor shutoff
- Architectural Mailbox / Landscape Post Mount — If your front door is fully shaded, mount the solar plaque on a sunny mailbox post or entrance riser near the street line.
Pro Tip: Accounting for Seasonal Sun Angles & Overhang Shadows
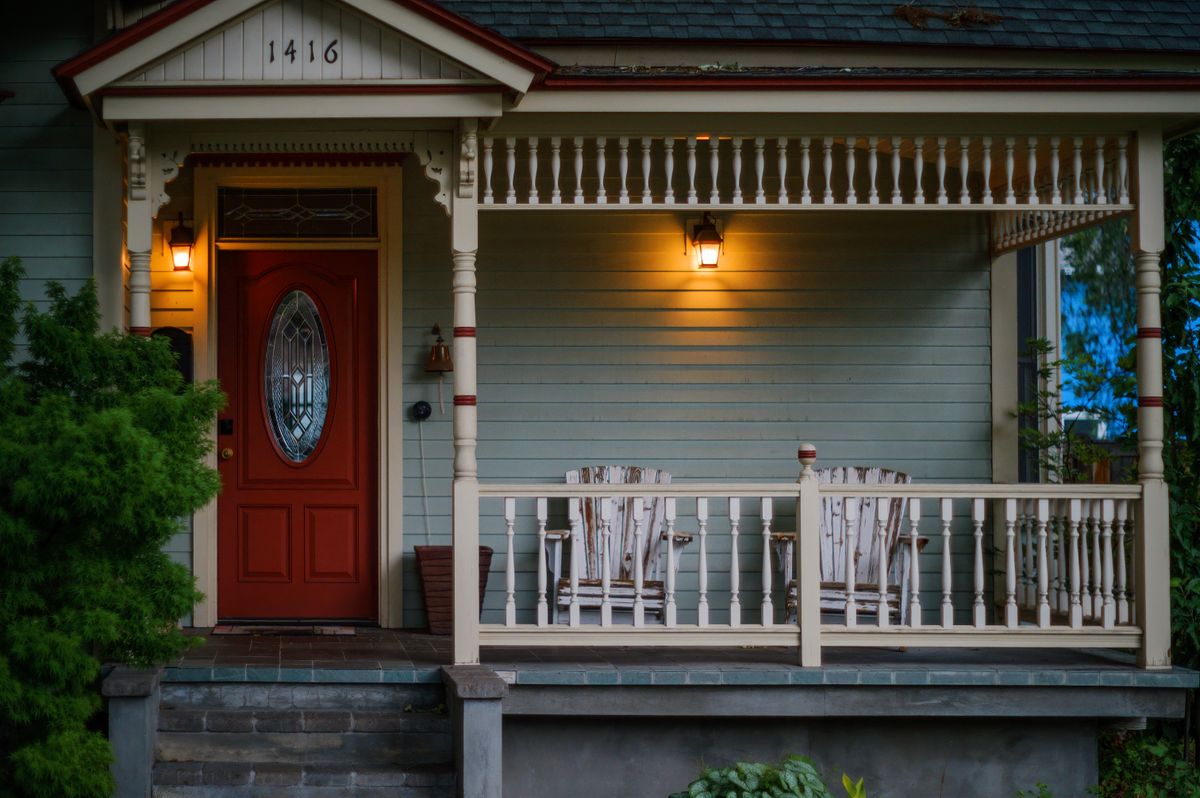
Photo by Brett Sayles on Pexels
When selecting a wall location, calculate how roof overhangs cast shadows during different seasons. In winter, the sun sits lower on the horizon, casting longer shadows under roof eaves. Mount your solar plaque at least 12 to 18 inches below roof eaves or gutter lines to prevent daytime shading.
Initial Battery Setup: Always prime the internal 600mAh Ni-MH battery by placing the sign in direct sunlight for 8 full hours with the power switch ON before final wall installation.
Exterior Wall Surface Mounting Hardware Matrix
| Surface Material | Recommended Fastener | Pilot Hole / Bit Size | Weather Sealing Method | Installation Notes |
| --- | --- | --- | --- | --- |
| Brick / Masonry | Plastic Expansion Anchor + Stainless Screw | 3/16-inch Masonry Bit | Silicone sealant inside pilot hole | Drill into mortar joints for easier drilling, or brick face for maximum anchor retention strength. |
| Vinyl Siding | No-Drill Siding Hooks or Plastic Anchor | 1/8-inch Standard Bit | Silicone dab behind screw head | Do not over-tighten screws against vinyl; leave slight play for seasonal temperature expansion. |
| Stucco | Conical Plastic Anchor or Tapcon | 3/16-inch Carbide Masonry Bit | Clear silicone around anchor lip | Pre-drill gently without rotary hammer action to avoid cracking thin stucco finish coats. |
| Wood / Composite | Direct Stainless Steel Screws | 3/32-inch Wood Bit | Exterior acrylic sealant | Pilot holes prevent wood splitting on garage door frames, trim boards, and fascia. |
Match your home's exterior wall material with the correct fasteners, drill bit sizes, and weatherproofing steps to prevent structural damage and water intrusion.
Pre-Installation Surface & Placement Decision Path
- Does your target wall receive at least 6 hours of unshaded daylight daily? → Yes: Proceed to evaluate surrounding artificial light sources.. No: Relocate mounting spot to a south/west wall, mailbox post, or unshaded garage trim.
- Is the mounting location within 6 feet of a strong porch light or streetlight? → Yes: Shift sign location sideways or lower to prevent the photodiode light sensor from being blinded.. No: Proceed to select hardware for your specific exterior wall material.
- Are you mounting on masonry, brick, or stucco? → Yes: Use a 3/16-inch carbide masonry bit, plastic expansion anchors, and silicone sealant.. No: Use standard stainless steel wood/siding screws with pre-drilled pilot holes.
Essential Pre-Installation Takeaways
- 6-to-8 Hour Daylight Charge: Direct sunlight charges the integrated 600mAh Ni-MH battery, delivering up to 12 hours of nighttime illumination.
- Automated Dusk-to-Dawn Sensor: Built-in intelligent light sensor turns LEDs on at dusk and off at dawn without manual switches.
- IP44 All-Weather Shell: Made of durable ABS & PC materials engineered to resist heavy rain, snow, freezing weather, and long-term UV radiation.
- Mounting Height Standard: Positioning plaques 4 to 6 feet above ground level guarantees clear 50-foot sightlines for emergency responders and courier drivers.
- Sealed Wall Anchor Prep: Always pre-drill pilot holes and apply exterior silicone sealant when mounting into brick, stucco, vinyl, or wood to protect wall framing.
Recommended Solar Address Sign Solution
High-visibility, energy-efficient solar house numbers designed for fast exterior mounting.
Optimal Sunlight & Emergency Sightline Mounting Diagram
Visual specifications for optimal mounting height, daylight cone, and curb sightlines.
Pre-Installation to First Night Illumination Timeline
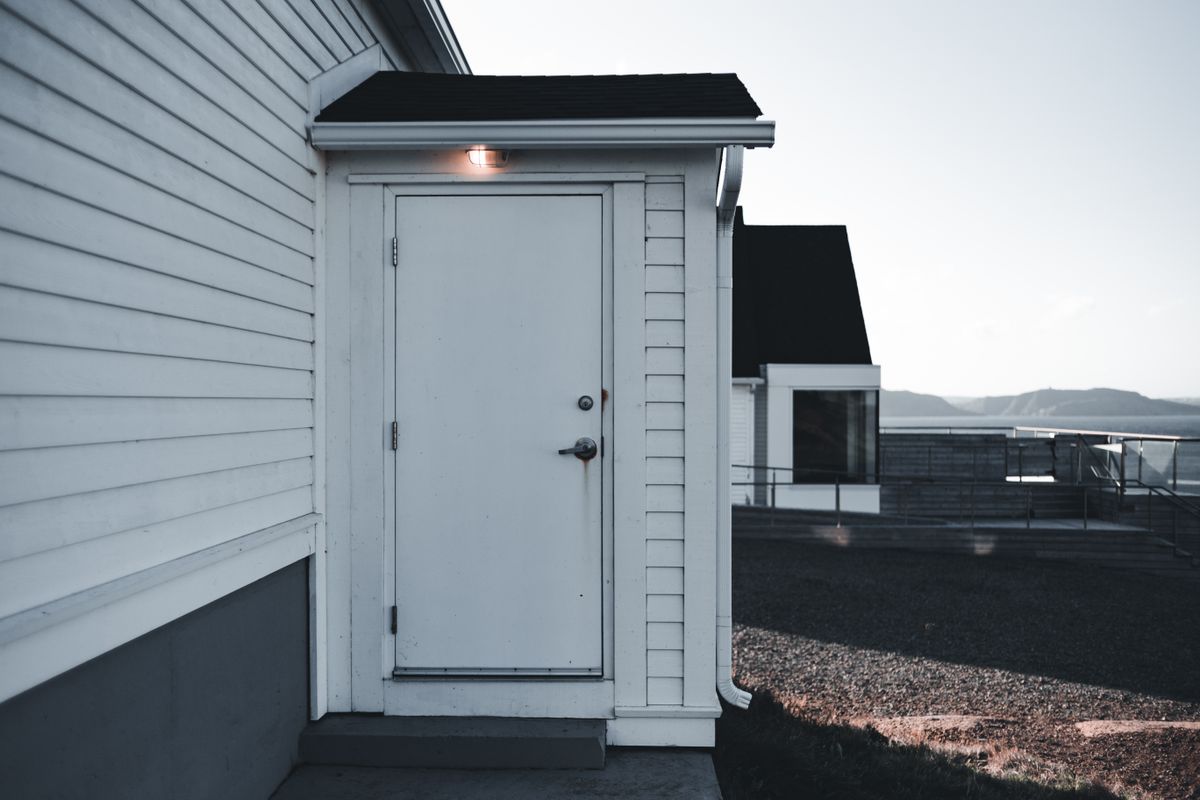
Photo by Erik Mclean on Pexels
- Step 1: Unboxing & Solar Charge Priming (Day 1 Morning) — Unpack the unit, set the internal power switch to ON, and lay the plaque in direct sunlight for 8 hours to prime the 600mAh Ni-MH battery.
- Step 2: Surface Measurement & Alignment (Day 1 Afternoon) — Clean the target wall surface, tape the included positioning template at 4 to 6 feet height using a bubble level, and mark drill points.
- Step 3: Pre-Drilling & Anchor Insertion (Day 1 Afternoon) — Drill pilot holes using wall-matched bits, inject silicone sealant into holes, and press wall anchors flush into place.
- Step 4: Final Securing & Dusk Verification (Day 1 Evening) — Mount the backplate with stainless steel screws, snap on your address numbers, and verify automatic LED activation at sunset.
Pre-Drill Site & Tool Readiness Checklist
- Verify mounting wall receives 6 to 8 hours of direct, unshaded sun daily.
- Check that location is at least 6 feet away from direct porch lights or streetlights to prevent sensor shutoff.
- Confirm mounting height is between 4 and 6 feet above ground level for clear vehicle sightlines.
- Identify wall material (brick, vinyl, stucco, wood) and assemble matched anchors/bits.
- Place solar sign in direct sunlight for 8 hours to perform initial battery charge before mounting.
- Tape included positioning paper template to the wall and check alignment with a bubble level.
Top Pre-Installation Errors That Reduce Solar Sign Performance
- Mounting Deep Under Roof Overhangs: Mounting directly under deep roof eaves starves the solar panel of UV daylight, causing the light to turn off after only 2 to 3 hours.
- Installing Near Bright Porch Lanterns: Placing the unit within 6 feet of an intense porch lantern tricks the dusk-to-dawn photodiode into detecting daytime, preventing LED activation.
- Skipping Silicone Sealant on Masonry/Siding: Pre-drilling exterior siding or mortar without injecting silicone sealant allows water to penetrate wall cavities, risking freeze-thaw damage.
- Omitting the Initial 8-Hour Sun Prime: Mounting out of the box without giving the 600mAh Ni-MH battery an initial 8-hour charge can degrade battery longevity.
- Using Standard Wood Bits on Masonry: Attempting to drill brick or stucco with regular high-speed steel bits dulls the bit and cracks outer masonry finishes. Always use a carbide masonry bit.
Frequently Asked Questions Before Installing
How much sunlight do solar house numbers need to work all night?
Solar lighted house numbers require 6 to 8 hours of direct, unshaded sunlight daily. This fully charges the built-in 600mAh Ni-MH battery, providing up to 12 hours of warm LED illumination throughout the night.
Can I install solar address numbers under a covered porch or roof eave?
Avoid installing solar plaques directly under covered porches or deep roof eaves that block daylight. For reliable night operation, mount the sign on an unshaded outer wall, garage trim, or entry post where direct sun reaches the solar panel surface.
What is the IP44 waterproof rating, and will it survive snow and heavy rain?
An IP44 rating confirms that the plaque's ABS & PC housing is sealed against solid objects over 1mm and water splashing from any angle. It resists heavy rainfall, winter snow, sleet, and severe UV rays without electrical shorts or surface discoloration.
How do solar lighted address signs know when to turn on and off?
The plaque uses an intelligent photodiode light sensor on its surface. At twilight, when ambient light drops below preset levels, the sensor automatically turns on the LED lights. At sunrise, it switches the LEDs off and redirects solar energy to recharge the internal battery.
How do I mount solar numbers on brick or stucco walls without damaging them?
Use a 3/16-inch carbide masonry bit to pre-drill pilot holes into mortar joints or stucco. Insert plastic expansion anchors, squeeze a small dab of exterior silicone sealant into each hole to block moisture, and secure the frame using the provided stainless steel screws.
Will surrounding streetlights or porch lights affect the sign's operation?
Yes. Direct, bright light from nearby porch fixtures or streetlights aimed at the light sensor can trick the sign into detecting daylight, preventing the LEDs from illuminating at night. Maintain at least 6 feet of clearance from direct artificial light sources.
Clear technical and practical answers to commonly asked questions regarding solar address signs.
Immediate Action Plan Before Drilling
Your decision: Determine whether your exterior wall receives 6 to 8 hours of direct sunlight daily and assemble matched wall anchors for your siding material before drilling.
Do this next: Test-charge the solar sign in direct sunlight for 8 hours prior to drilling, then use the provided positioning template to align pilot holes.
- Read next: How to Install Solar House Numbers Without Wiring or an Electrician
- Read next: Where to Install House Numbers for Maximum Visibility for Delivery and First Responders
Modern Solar Lighted House Numbers (Warm LED, IP44 ABS Waterproof Construction with 600mAh Ni-MH Battery)
Complete your pre-installation checks and prepare your wall surface for mounting.