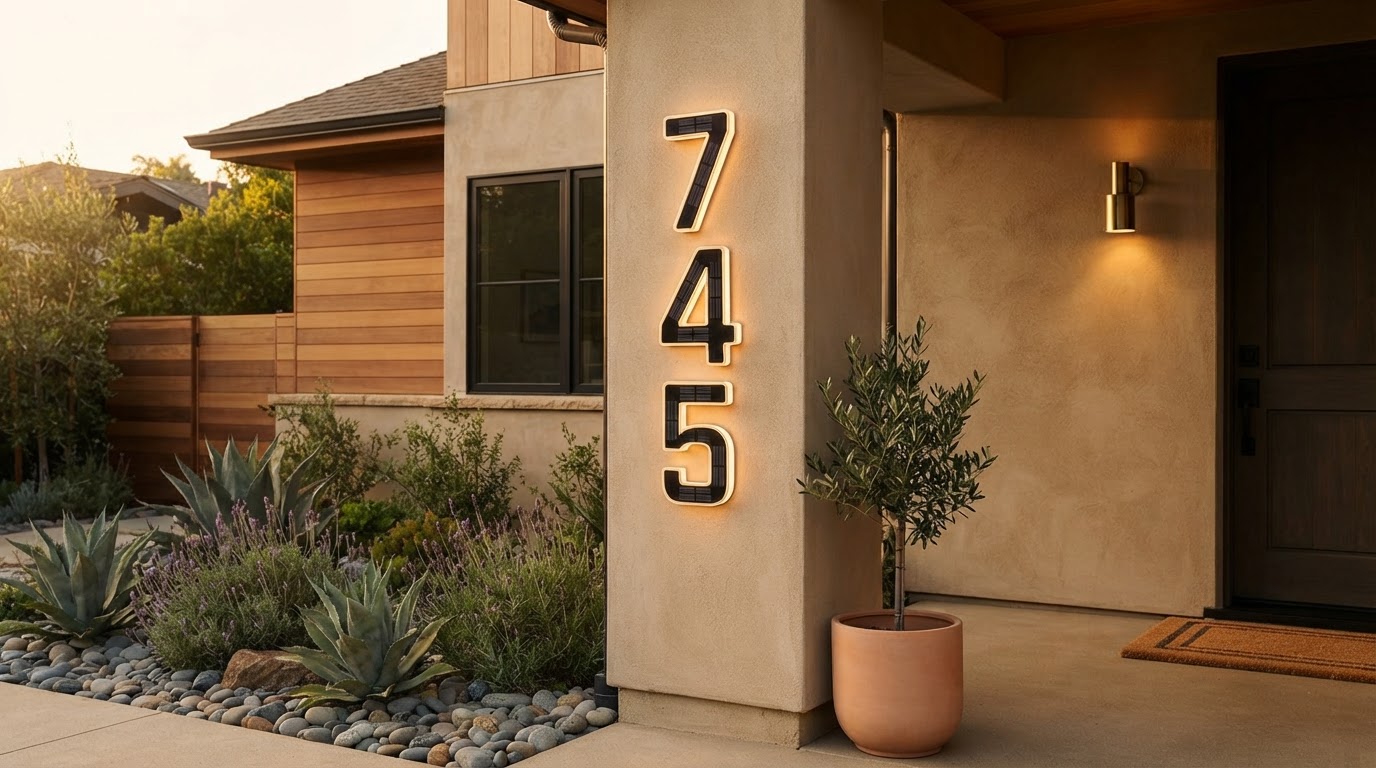
How to Install a Solar Lighted Address Sign Outside Your Home
How to Install a Solar Lighted Address Sign Outside Your Home
Upgrading your curb appeal and nighttime address legibility is a simple weekend project. Installing solar address lighting requires no electrical expertise, making it accessible for any homeowner.
To learn more about overall address visibility standards, refer to the main guide. Follow these simple steps to install your solar lighted address sign quickly and accurately.
Step 1: Select an Optimal Direct-Sunlight Location
Choose an exterior wall surface, fence post, or porch column that is easily visible from the street. Because the unit features solar panels on the surface, select a spot where it can receive roughly 6-8 hours of direct sunlight per day to charge its internal 600mAh NI-MH battery for 12 hours of warm LED illumination after dark.
Step 2: Assemble Your Number Sequence

Unbox your Solar Lighted House Numbers set. Pair the stylish black and white plaque with your specific address digits. Ensure the numbers are firmly secured according to template instructions before attaching the assembly to your wall.
Step 3: Mark Pilot Holes Using Positioning Paper
To keep your installation level and straight, use the provided positioning paper included in your kit:
Step 4: Mount the Address Plaque Securely
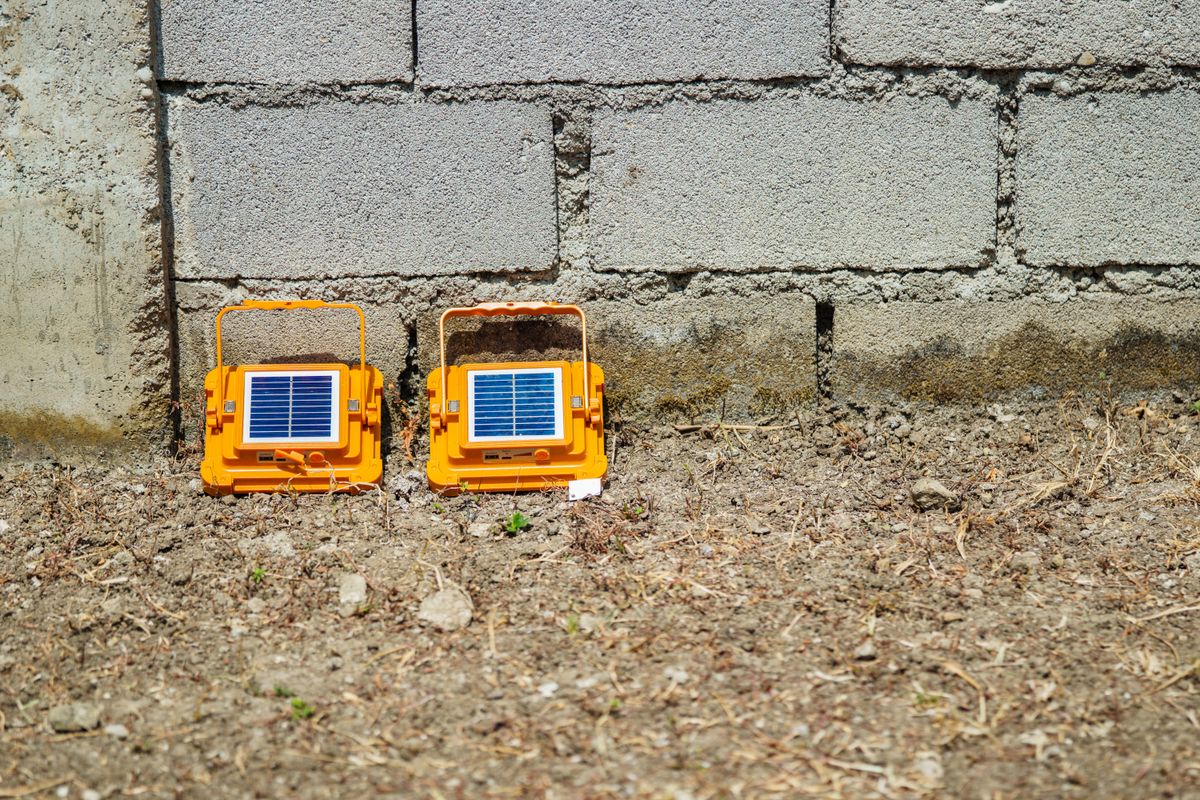
Photo by Nothing Ahead on Pexels
With your pilot holes marked, the sign is easy to install with included screws and wall anchors:
Once installed, the integrated intelligent light sensor will automatically detect dusk, turning on the warm light at night and turning it off during the day. Rated IP44 waterproof, your new sign is ready to withstand rain, snow, and UV rays year-round.
Read the full guide: How to Make Your Address Visible at Night: The Complete Guide