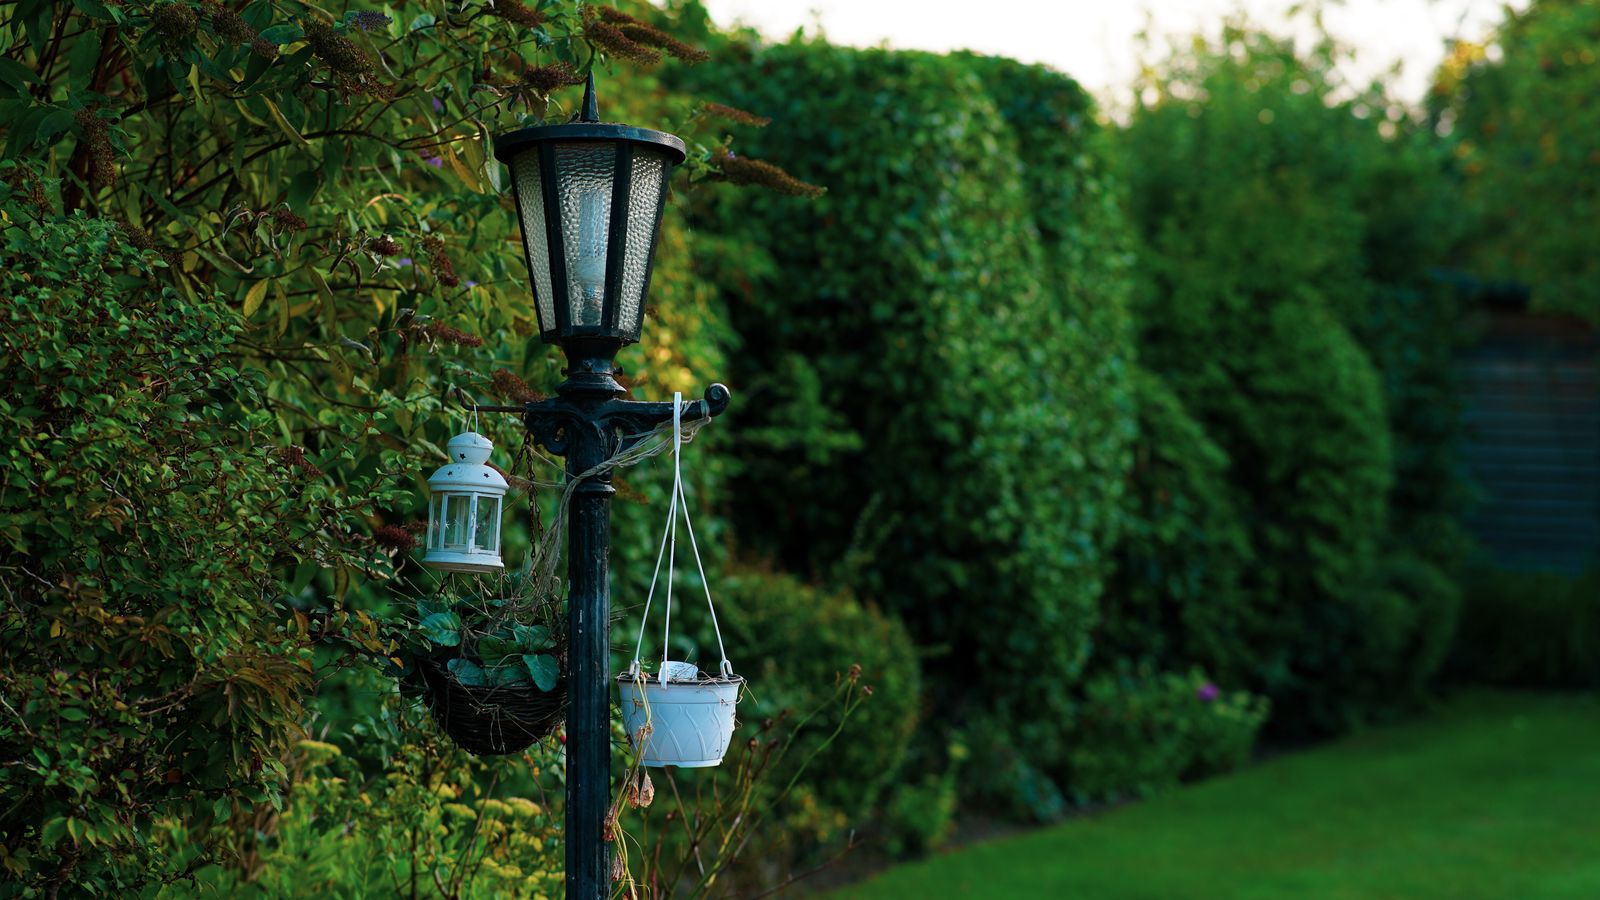
Solar Address Sign Power & Placement FAQ: Weatherproofing, Charging, and Outdoor Performance
Contrary to popular belief, solar house numbers do not require intense, all-day equatorial sun to run for 12 hours. Mounting an IP44-rated sign on an unobstructed south- or west-facing exterior wall with 6 to 8 hours of daylight provides full charging for its 600mAh battery, providing dusk-to-dawn LED visibility even in winter.
Solar Panel Placement & Mounting Angle Diagram
Proper exterior wall positioning ensures solar cells receive unobstructed sunlight without roof eave shadow interference.
Placement Scenarios: Eaves, Porches, Trees, and Street Illumination
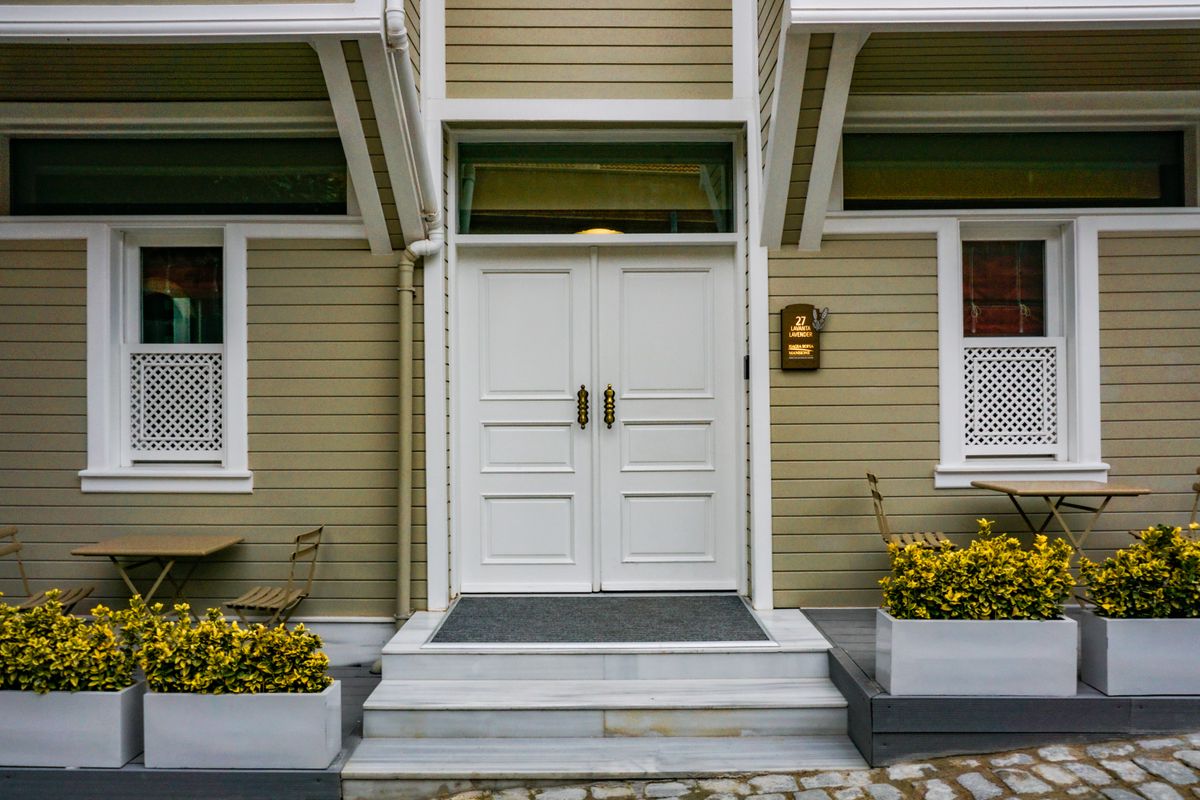
Photo by Yunus KALÇIK on Pexels
Mounted Flush Under Deep Roof Eaves (Overhang > 12 Inches) — Avoid mounting directly under deep overhangs. Roof eaves block steep midday sunlight, reducing charge times by up to 50%. Position the sign at least 18 inches below the eave edge.
Mounted Near High-Lumen Porch Lights or Streetlamps — Maintain a minimum distance of 3 to 5 feet from bright exterior bulbs. Direct artificial light tricks the integrated light sensor into assuming it is daylight, preventing night illumination.
Mounted on West- or South-Facing Front Gate Posts or Fences — Ideal placement. South- and west-facing mounting locations receive the maximum angle of afternoon sun, fully saturating the 600mAh NI-MH battery for 12 continuous hours of illumination.
Installed in Shaded North-Facing Porch Recesses — North-facing walls receive indirect ambient light only. Expect runtime to drop to 4–6 hours during winter. Supplement with clear foliage trimming or move to an open perimeter fence post.
Evaluating your home's exterior architecture helps determine the optimal mounting spot for 12-hour dusk-to-dawn illumination.
Expert Recommendation: Ideal Sunlight & Mounting Setup
For maximum curb appeal and reliable dusk-to-dawn performance, mount your illuminated address sign on a south- or west-facing wall, at least 18 inches below roof eaves and 3 feet away from bright porch lamps. This guarantees 6 to 8 hours of uninterrupted sunlight exposure to fully charge the internal 600mAh NI-MH battery for 12 hours of crisp, warm LED visibility.
Ready to upgrade your home's exterior? Click below to order your complete kit today.
Power, Charging & Light Sensor Troubleshooting Matrix
| Symptom | Root Cause | Quick Fix | Diagnostic Step |
| --- | --- | --- | --- |
| Sign fails to turn on at dusk | Ambient porch light or streetlamp shining directly on light sensor | Relocate sign 2-3 feet away or shield sensor from light source | Cover top solar panel/sensor with dark cloth; if sign lights up immediately, sensor is functional. |
| Illumination lasts only 2 to 4 hours at night | Insufficient sunlight or roof eave shading top solar panel during midday | Move sign at least 18 inches lower or clear nearby tree branches | Measure hours of direct sun hitting the panel between 10 AM and 4 PM. |
| LEDs flicker or output dim light | Accumulated snow, dust, or dirt layer reducing solar panel energy absorption | Wipe panel clean using a warm, damp microfiber cloth and mild soap | Inspect solar panel lens surface for heavy film, pollen, or scratches. |
| Light turns off randomly after midnight | Aging NI-MH battery reached maximum recharge cycle capacity | Unscrew rear ABS housing and replace internal 1.2V 600mAh AA NI-MH battery | Test battery voltage with a multimeter; replace if reading falls below 1.0V after charging. |
Diagnose and fix power, runtime, and sensor issues quickly using this diagnostic reference.
Real-World Installation Gallery: Wall, Post, and Fence Mounts
Explore diverse residential installations demonstrating proper sun exposure and high-contrast night visibility.
Key Takeaways for Solar House Number Performance
- Optimal Exposure: 6 to 8 hours of direct daylight completely charges the 600mAh NI-MH battery for 12 hours of LED illumination.
- Eave Clearance: Place address plaques at least 18 inches below roof overhangs to avoid midday shadow casting.
- Sensor Clearance: Keep units 3+ feet away from porch lights so bright ambient illumination does not trigger daylight shutoff mode.
- All-Weather IP44: High-grade ABS & PC construction resists heavy rain, snow accumulation, and UV degradation without rusting.
- Zero Maintenance Battery Swap: Replaceable 1.2V 600mAh AA NI-MH battery extends plaque lifespan indefinitely.
Printable Placement & Seasonal Care Guide
- Pre-Mounting Prep: Locate a south or west exterior surface with 6-8 hours of daylight.
- Clearance Check: Ensure sign is 18 inches below eaves and 3 feet from artificial lights.
- Initial Charge: Leave switch in 'ON' position in full sun for 8 hours before night one.
- Seasonal Wipe: Clean top solar lens with a damp microfiber cloth every quarter.
- Winter Clearing: Gently brush off snow buildup using a soft cloth—never use metal scrapers.
Solar Address Sunlight & Runtime Calculator
Use this interactive planning tool to estimate nightly LED burn time based on geographic sun hours and mounting direction.
Seasonal Solar Charging & Illumination Performance Matrix
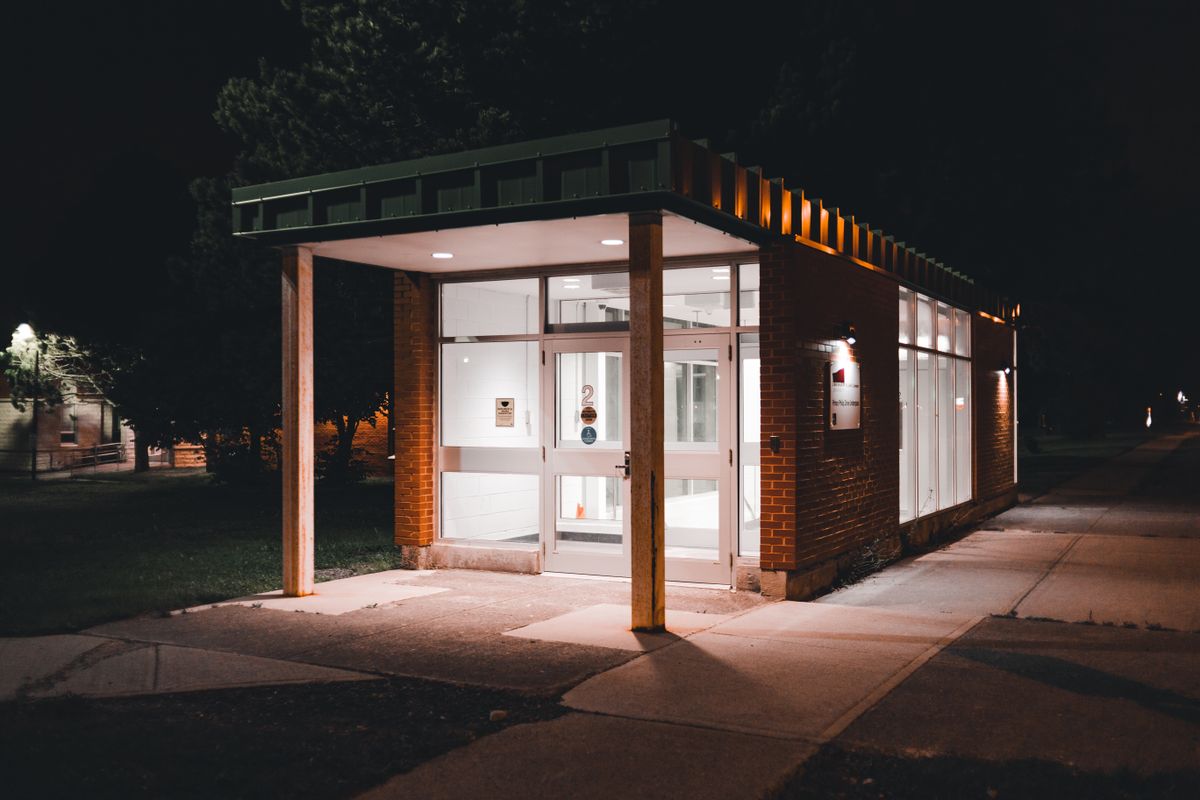
Photo by Erik Mclean on Pexels
| Seasonal Scenario | Daily Sunlight Hours | Solar Conversion Efficiency | Nightly Illumination Duration | Performance Assessment |
| --- | --- | --- | --- | --- |
| Summer Direct Sunlight (South Wall) | 7 – 9 Hours | 100% Full Charge | 12 Hours (Dusk-to-Dawn) | Optimal: Full battery capacity reached daily; maximum LED brightness sustained all night. |
| Autumn / Spring Partial Sunlight (West Wall) | 5 – 6 Hours | 85% High Charge | 10 – 12 Hours | Excellent: Battery receives ample daylight to illuminate standard 10-hour nighttime periods. |
| Winter Overcast / Northern Latitude | 3 – 4 Hours | 50% Partial Charge | 6 – 8 Hours | Moderate: Illumination covers critical evening delivery and emergency response hours (5 PM to 1 AM). |
| Deep Shade / Eave Blocked Wall | 1 – 2 Hours | 25% Minimal Charge | 2 – 4 Hours | Poor: Repositioning required to achieve reliable dusk-to-dawn functionality. |
Compare real-world performance metrics across different sunlight conditions and seasons.
Pro Tip: Preventing Light Sensor Interference From Streetlights and Porch Bulbs
The automated dusk-to-dawn light sensor built into the top solar panel measures ambient lux thresholds. If your porch lamp emits over 30 lux directly onto the plaque surface, the light sensor interprets it as daytime sunlight and deactivates the LEDs. If relocating the sign is not feasible, install a lower-lumen warm warm-white bulb (2700K, <450 lumens) in your porch fixture or tilt the solar plaque slightly downward to shade its sensor from direct overhead beam glare.
Recommended Solution: Solar Lighted House Numbers
Upgrade your home's exterior curb appeal and guarantee evening visibility for first responders and delivery drivers with these modern solar address plaques.
Frequently Asked Questions: Power, Charging, and Durability
Answers to common reader questions regarding maintenance, snow clearing, sensor mechanics, and IP44 weatherproofing limits.
Action Plan & Placement Checklist
Your decision: Choose an unobstructed south- or west-facing wall location at least 18 inches below eaves, ensuring no artificial porch light shines directly on the top light sensor.
Do this next: Use the positioning template paper included with your sign to mark pilot holes, charge the unit under direct sunlight for 8 hours before first turning on, and test night sensor function.
- Read next: How to Position Solar House Numbers for Maximum Sunlight and 12-Hour Nightly Charge
- Read next: Solar Address Sign Troubleshooting & Winter Visibility Guide
Solar Lighted House Numbers (Black & White ABS/PC, Warm LED, IP44 Waterproof)
Follow these steps to choose the best location, charge your unit, and verify dusk-to-dawn functionality.