Solar House Numbers Sunlight Placement Guide: 12-Hour Charge Rules
Mount solar house numbers where top-mounted solar cells receive 6 to 8 hours of direct, unobstructed sunlight. For full 12-hour nightly illumination from a 600mAh NI-MH battery, position plaques at least 1.5 feet below eaves for every 1 foot of roof overhang, maintaining 5 feet clearance from artificial light sources.
Key Placement Rules at a Glance
- Sunlight Exposure: Requires 6 to 8 hours of direct solar exposure daily to achieve full 12-hour warm LED illumination at night.
- Eave Clearance Ratio: Maintain a 1.5:1 vertical drop ratio below roof overhangs (18 inches down for every 12 inches of eave depth) to clear mid-day shadows.
- Sensor Isolation: Keep plaques at least 5 feet away from exterior porch lights and floodlights to prevent ambient lux interference with the automatic dusk-to-dawn sensor.
- Cardinal Orientation: South-facing walls provide peak 100% solar efficiency; West-facing yields 85%; East-facing yields 70%; North-facing wall mounts require post or mailbox re-location.
- Weatherproofing & Build: High-grade ABS & PC composite construction with IP44 waterproofing protects internal 600mAh NI-MH cells against rain, snow, and UV degradation.
Technical Solar Specifications & Energy Capture Parameters
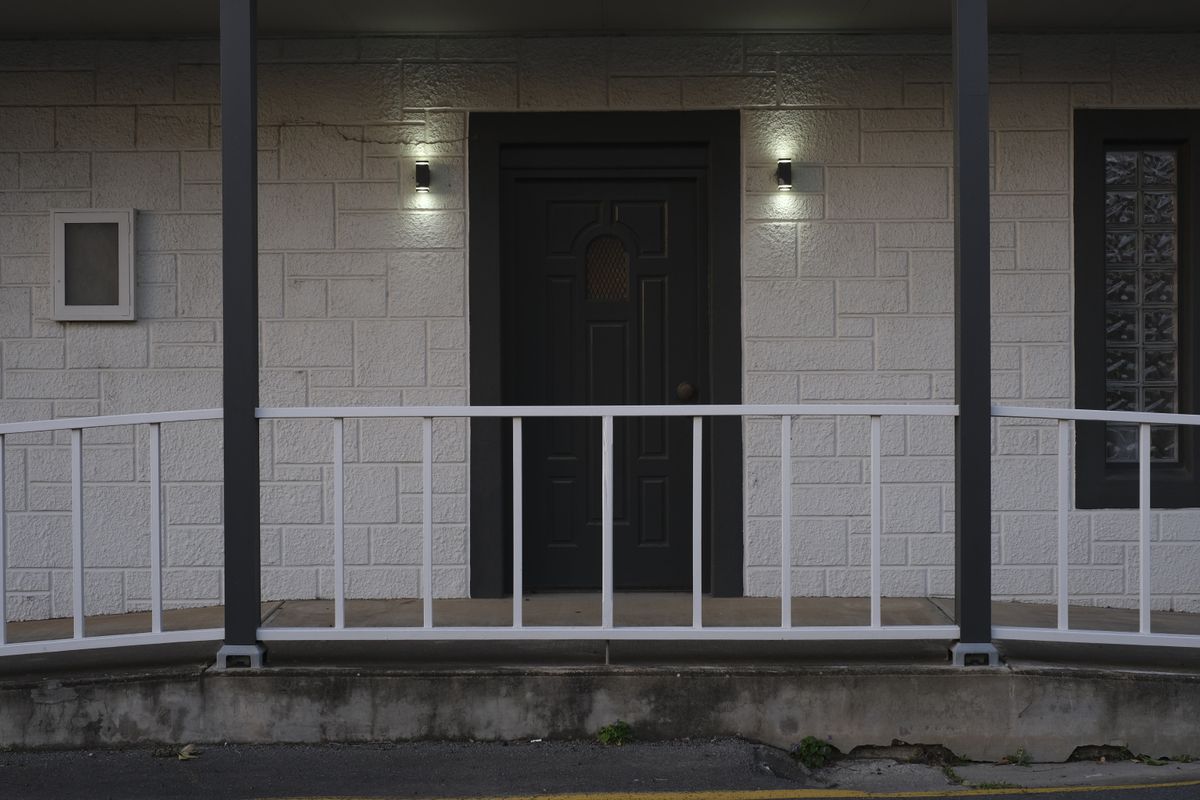
Photo by Matt Webster on Pexels
| Technical Parameter | Hardware Specification | Operational Requirement | Performance Impact |
| --- | --- | --- | --- |
| Solar Panel Collector | Surface-Integrated Monocrystalline Cell | 6–8 Hours Unobstructed Direct Sun | Generates energy to fully charge 600mAh battery cell |
| Battery Storage | 600mAh NI-MH Re-chargeable Battery | Full Charge Cycle (1.2V–1.4V) | Sustains 12 hours continuous warm LED illumination |
| Photocell Light Sensor | Automatic Dusk-to-Dawn Lux Threshold Switch | Ambient Light < 10 Lux to Activate | Prevents daytime power burn; turns on automatically at dusk |
| Enclosure Protection | IP44 Weatherproof ABS & PC Molded Body | -4°F to 140°F Thermal Tolerance | Protects components from rain, melting snow, and UV yellowing |
| Address Legibility Distance | High-Contrast Black & White Plaque Design | Mounted 4 to 6 Feet Above Grade | Ensures readability from 50+ feet away for delivery drivers |
Review the core electrical and spatial thresholds required to maintain peak battery charging and optical performance.
Visual Clearance Blueprint: Eave Shadow Avoidance
Refer to this visual layout specification when determining mounting height beneath roof overhangs and porch structures.
Pre-Drilling Solar Placement & Sightline Checklist
- Track solar exposure on the target mounting wall at 9:00 AM, 1:00 PM, and 5:00 PM.
- Measure porch eave depth and verify plaque is mounted at least 1.5x the eave depth below the roofline.
- Check that nearby porch sconces or floodlights sit at least 5 feet away from the automatic dusk-to-dawn sensor.
- Confirm street sightlines are completely unblocked by evergreen or deciduous tree branches.
- Verify that vehicle headlights and street-level drivers can easily read numbers from 50 feet away.
Troubleshooting Low Solar Charge & Sensor Interference
| Observed Symptom | Probable Root Cause | Diagnostic Testing Procedure | Corrective Action |
| --- | --- | --- | --- |
| LED turns off after 3-4 hours of operation | Insufficient sunlight exposure charging 600mAh battery | Measure direct sun hours across 12-hour window | Relocate sign 18-24 inches lower or move to West/South wall |
| Sign fails to turn on at night | Artificial lighting triggering internal dusk-to-dawn sensor | Cover solar panel/photocell with hand at night | If sign turns on when covered, shift mounting point 5+ feet away from porch lights |
| Sign flickers intermittently at dusk | Sensor positioned on boundary of artificial light threshold | Observe light cone from ambient fixtures | Lower sign height below fixture light cone or adjust sensor angle |
| Sign glower is dim right after sunset | Debris or snow covering top solar panel surface | Inspect surface for dust, pollen, or ice layer | Clean panel with microfiber cloth and warm water; avoid abrasive pads |
Use this diagnostic guide to isolate charging failures, short runtime issues, or erratic night sensor behavior.
Expert Tip: Seasonal Solar Path Calculations
Solar elevation angles change significantly between winter and summer solstices across North America. In winter, the sun sits lower on the horizon (approx. 30° at 40°N latitude), casting longer roof eave shadows down vertical exterior walls. When installing solar house numbers during summer months (70° solar elevation angle), calculate the winter shadow projection line. Placing your address plaque an extra 6 inches lower than summer shadow boundaries guarantees that winter sun will still reach the top panel, maintaining full 12-hour illumination year-round without seasonal height adjustments.
Immediate Next Steps: Pre-Installation Solar Audit
Your decision: Determine whether your front wall provides 6-8 direct sun hours or if a yard post / mailbox location is required.
Do this next: Mark candidate mounting spots with blue painter's tape and check light exposure at 9 AM, 1 PM, and 5 PM.
- Read next: Troubleshooting Dusk-to-Dawn Smart Light Sensors on Solar Address Lights
- Read next: Direct Sunlight vs. Indirect Light Placement: Choosing the Right Spot for Solar Address Signs
Solar Lighted House Numbers (Colour Name) featuring IP44 ABS & PC construction and 600mAh NI-MH battery.
Perform a simple 12-hour daylight audit across your front entry before mounting hardware into wall surfaces.
Solar Panel Maintenance & Efficiency Schedule
- Monthly — Wipe the surface of the top-mounted solar panel with a soft microfiber cloth to remove dust, pollen, and hard water spots.
- Quarterly (Seasonal) — Inspect surrounding landscaping and trim back overhanging tree branches or shrubs blocking the solar path.
- After Snowstorms — Gently sweep off snow, frost, or ice build-up from the top panel ledge to prevent zero-charge days.
- Annually — Inspect the IP44 ABS & PC housing seal for dirt buildup around joint seams and clear the light sensor aperture.
The 6-8 Hour Energy Budget Formula
Solar house numbers rely on strict energy conservation principles. To sustain 12 full hours of night illumination, the unit’s top-mounted monocrystalline solar collector must gather enough solar radiation to fully energize its internal 600mAh NI-MH rechargeable battery cell. Operating at an output efficiency tuned for ultra-bright, warm LED illumination, every 1 hour of direct sunlight exposure yields approximately 1.5 to 2 hours of active nighttime illumination.
When direct sunlight drops below 6 hours, total stored capacity decreases proportionally. Under 4 hours of direct light, the battery reserves hold only enough power for 6 to 8 hours of illumination before dimming out in the early morning hours.
Overcoming Roof Eave & Porch Overhang Shadows
One of the most common installation pitfalls is mounting address plaques directly under roof overhangs, deep porch arches, or gutters. While these locations shield plaques from harsh rain, they cast wide shadow curtains over top-mounted solar panels during peak overhead solar hours (11:00 AM to 2:00 PM).
To ensure unimpeded sun intake, adhere to the 1.5:1 Eave Clearance Rule: $$\text{Minimum Vertical Drop Below Eave} = 1.5 \times \text{Overhang Depth}$$
For example, if your front porch features a 12-inch soffit overhang, the solar panel at the top of the house number sign must sit at least 18 inches below the outer edge of that soffit. For 24-inch overhangs, mount the unit at least 36 inches below the eave line. If mounting height constraints prevent this clearance, move the plaque outward to a garage pillar, decorative yard post, or mailbox structure.
Balancing Photocell Sensors and Ambient Sconces
Solar lighted house numbers contain an intelligent dusk-to-dawn light sensor calibrated to turn off LEDs when ambient brightness exceeds approximately 10 to 15 lux. If an address plaque is mounted within 3 to 5 feet of an exterior 60W-equivalent porch light sconce or motion floodlight, artificial light trickling into the photocell sensor tricks the sign into 'daytime mode.' This turns off the internal warm LEDs precisely when nighttime visibility is needed most.
Maintain at least 5 feet of lateral distance from high-output porch lights. Alternatively, mount the solar address plaque directly beneath the sconce's downward cone of illumination—where the light projects outward rather than back onto the top solar panel.
Cardinal Direction Placement Matrix
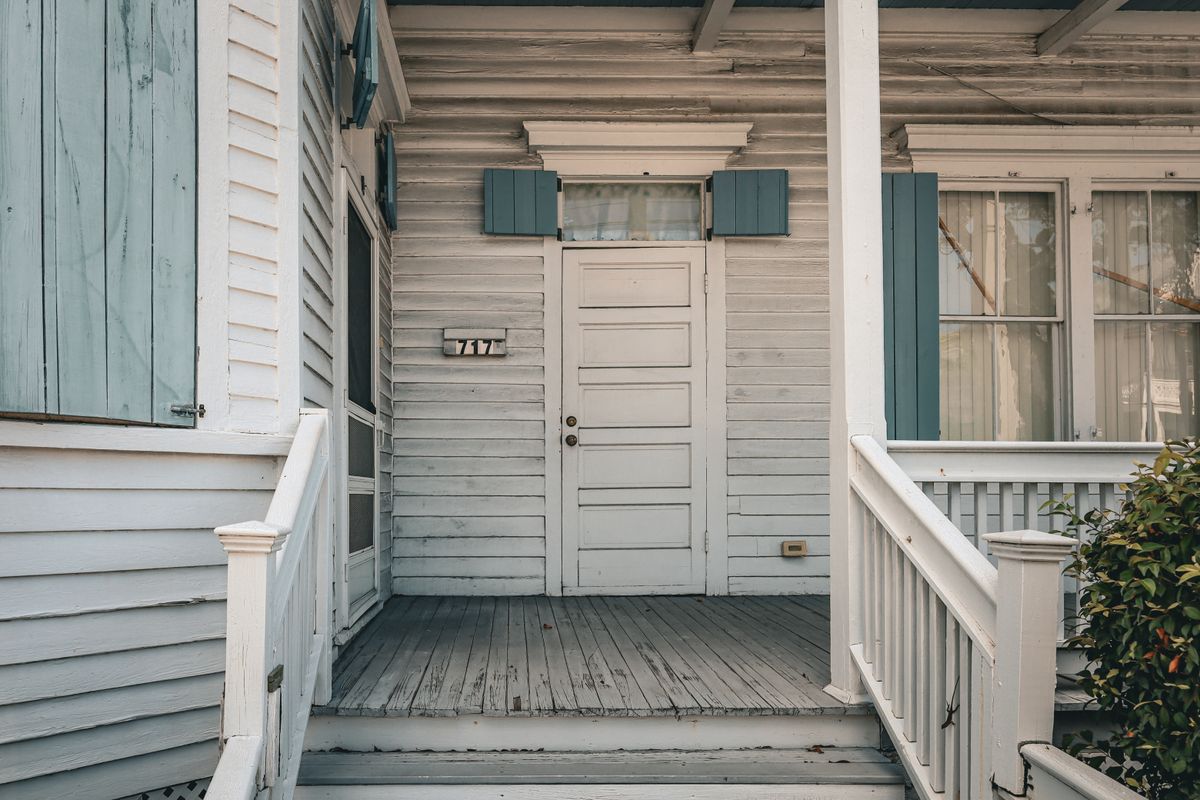
Photo by Arian Fernandez on Pexels
| Placement Scenario | Direct Sunlight Yield | Daily Charge Yield (600mAh) | Nightly Illumination Duration | Recommended Mounting Adjustments |
| --- | --- | --- | --- | --- |
| South-Facing Wall (Unobstructed) | 7 to 9 Hours / Day | 100% Full Capacity | 12 Hours (Dusk to Dawn) | Ideal wall mount placement; standard height 4-6 feet above grade. |
| West-Facing Wall (Afternoon Exposure) | 6 to 7 Hours / Day | 90% - 100% Capacity | 11 to 12 Hours | Excellent choice; captures intense late-day sun right before activation. |
| East-Facing Wall (Morning Exposure) | 4 to 5 Hours / Day | 70% - 85% Capacity | 8 to 10 Hours | Mount away from sidewalls to catch maximum midday transition sun. |
| North-Facing Wall (Zero Direct Sun) | 0 to 2 Hours (Diffuse Day-Light) | 40% - 50% Capacity | 4 to 6 Hours (Dimmed) | Avoid wall mounting; relocate plaque to South/West post or mailbox. |
Evaluate expected daily sunlight collection and battery yields based on home entry orientation.
5 Critical Solar Placement Mistakes to Avoid
Avoid these standard installation errors to ensure maximum solar collection and night legibility.
Related Guides & Strategic Placement Content
- Solar Address Sign Power & Placement FAQ: Weatherproofing, Charging, and Outdoor Performance
- Frequently Asked Questions About Solar House Numbers
- Winter Sunlight Strategy: Keeping Your Solar Lighted House Numbers Bright Year-Round
Frequently Asked Questions About Solar Address Sign Placement
Find solutions to common situational challenges encountered during installation.
Recommended Solar Address Sign Solution
For reliable curb appeal and clear 50-foot nighttime visibility, choose an engineered solar address sign designed for durability.
Final Next Steps: Take Action for Nighttime Visibility
Your decision: Identify your optimal mounting zone clearing roof eaves and artificial light interference.
Do this next: Order your Solar Lighted House Numbers today, run a quick shadow check on your candidate wall, and install using the included template for 12 hours of automated nighttime illumination.
- Read next: Direct Sunlight vs. Indirect Light Placement Guide
Solar Lighted House Numbers (Colour Name) — Available now at solarlightedhousenumbers.com
Upgrade your home entry with high-visibility illuminated address signage.
Cover photo by Star Zhang on Pexels.