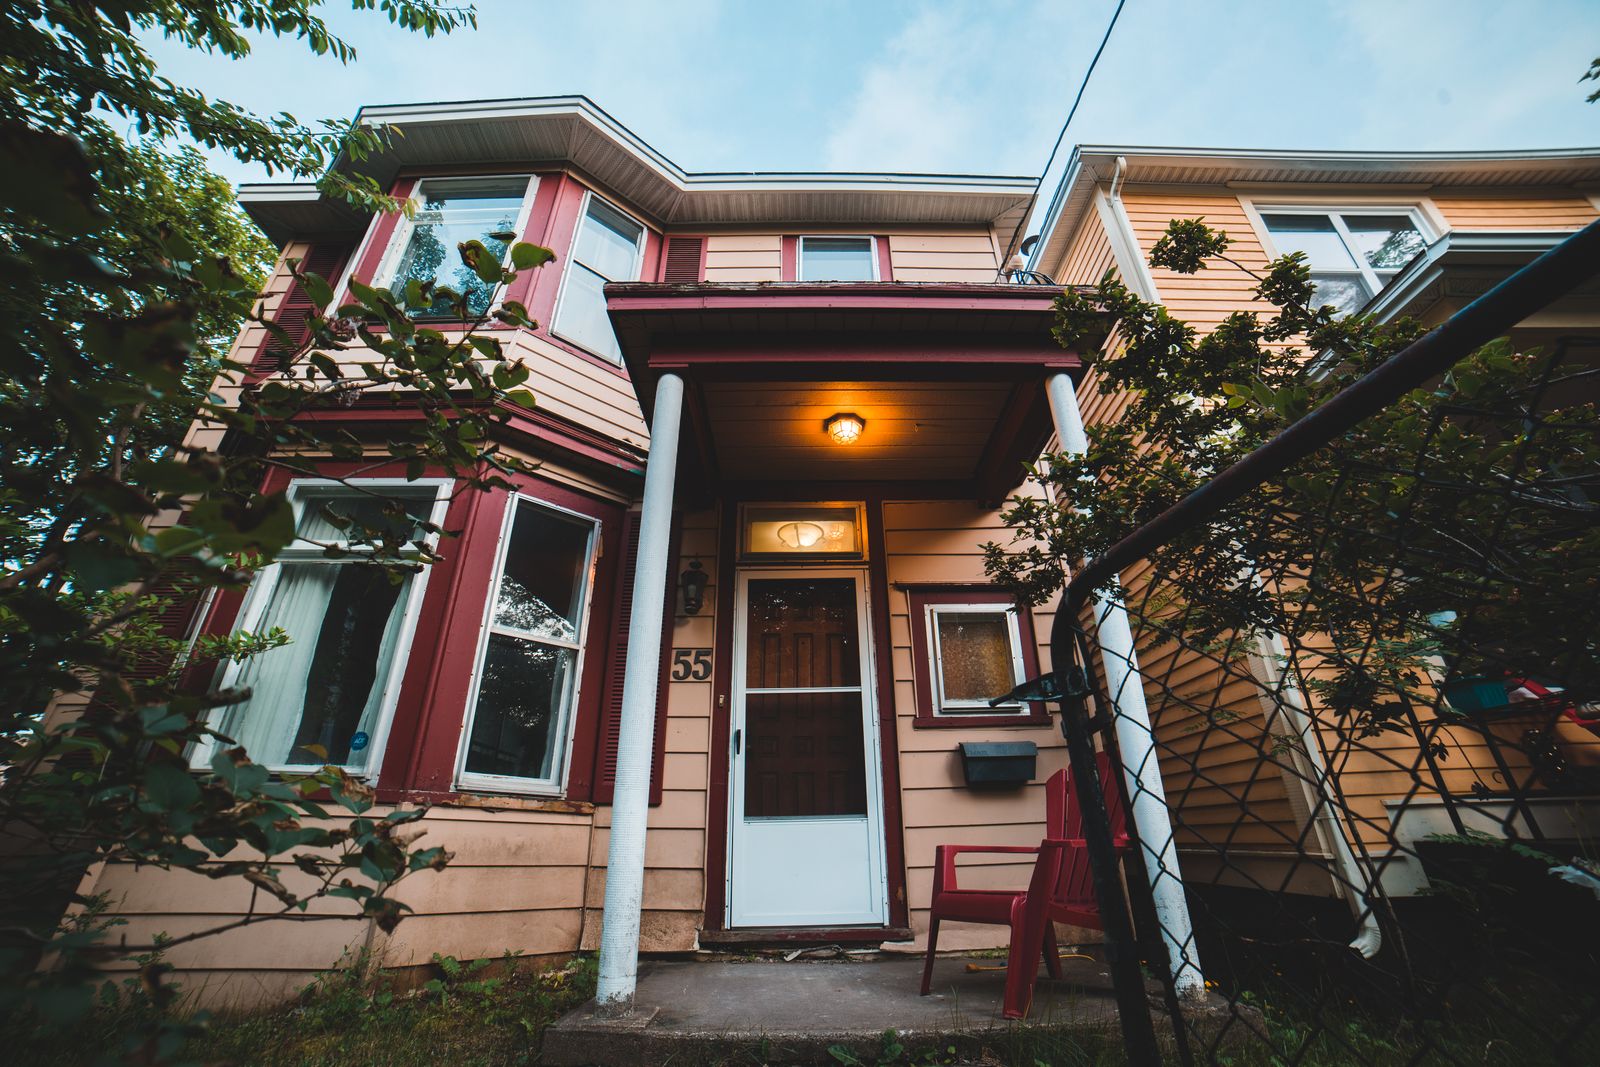
Where to Mount Solar House Numbers for Maximum Sunlight and Nighttime Visibility
Mount solar house numbers 4 to 6 feet above ground on a South or West-facing garage pillar, entryway wall, or mailbox post. Ensure the solar panel receives 6 to 8 hours of unshaded sunlight daily while maintaining an unobstructed 100-foot line of sight from the street for delivery drivers and emergency personnel.
Pre-Installation Location Assessment Checklist
- Verify location receives 6-8 hours of direct, unshaded sunlight during peak hours (10 AM - 4 PM).
- Confirm mounting height is between 4 feet and 6 feet above ground level.
- Ensure location provides an unobstructed 100+ foot view from the approaching roadway.
- Check that no artificial light sources (floodlights, porch lanterns) directly shine onto the solar cell sensor.
- Verify surface material (brick, vinyl, wood, concrete) and gather appropriate mounting anchors.
Step-by-Step Guide: Selecting and Preparing Your Mounting Location
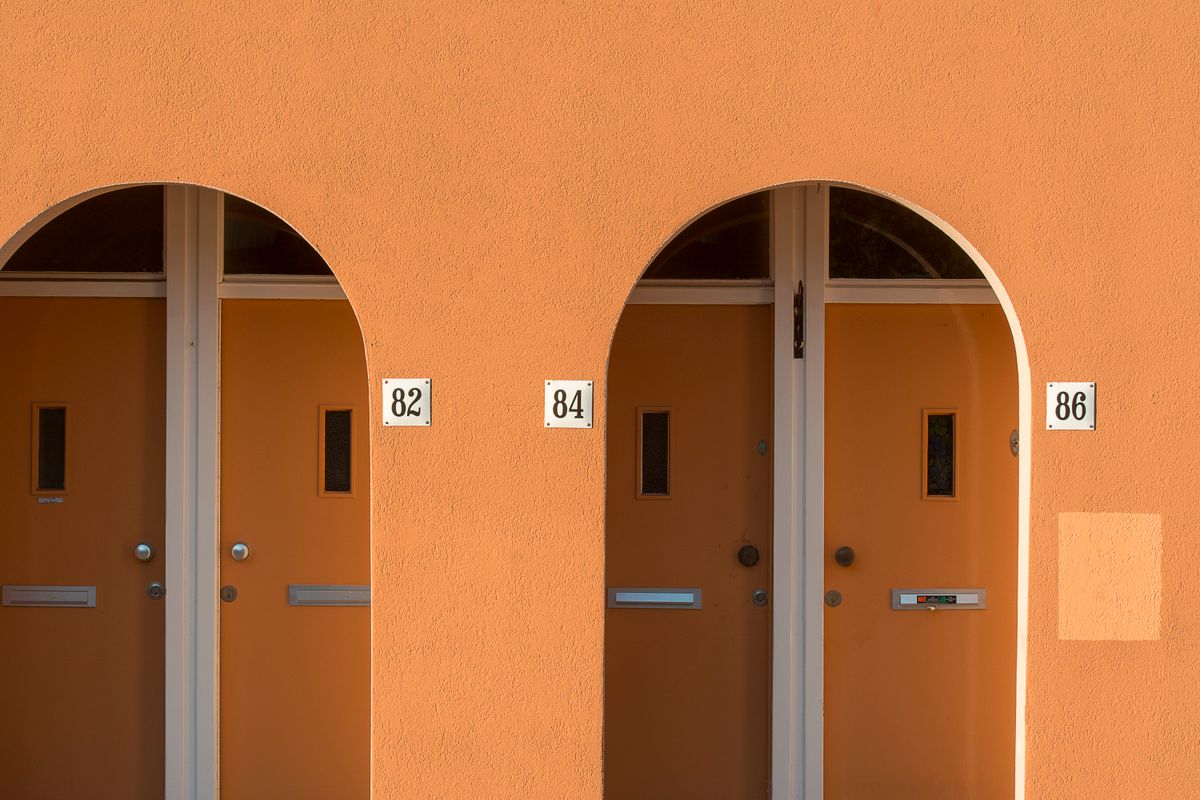
Photo by Jan van der Wolf on Pexels
Finding the ideal balance between maximum photovoltaic solar collection and nighttime vehicular line-of-sight requires a methodical site evaluation. Follow these five steps to select and prep your installation spot.
Expert Advice on Overcoming Eaves and Porch Overhangs
Roof eaves extending more than 12 inches cast persistent shadows over upper wall sections, even on South-facing walls. If your front door sits inside a recessed porch, mount your solar house plaque to the forward-facing outer garage pillar or a dedicated exterior mailbox post instead of the recessed entryway wall. This 3-to-6-foot outward shift bypasses eave shadows completely, granting the solar panel uninterrupted ambient and direct sunlight while moving the address sign closer to approaching street traffic.
Cardinal Direction Charging Performance & Visibility Matrix
| Cardinal Facing | Direct Sun Hours | 600mAh Battery Charge Level | Nightly LED Duration | Recommended Mounting Adjustment |
| --- | --- | --- | --- | --- |
| South-Facing | 6 to 8+ Hours | 100% Full Charge | 12 Hours (Full Night) | Ideal primary mounting spot; flush wall mount flush with siding. |
| West-Facing | 5 to 7 Hours | 85% - 100% Charge | 10 to 12 Hours | Excellent for afternoon collection; ensure low tree branch clearance. |
| East-Facing | 4 to 6 Hours | 70% - 85% Charge | 8 to 10 Hours | Mount away from garage side return walls that block morning angles. |
| North-Facing | 1 to 3 Hours (Indirect) | 40% - 60% Charge | 5 to 7 Hours | Shift mount to mailbox post, outer fence column, or yard stake. |
Evaluating how your home's front wall orientation impacts solar cell charging and nightly illumination performance.
Mounting Location Selection Flowchart
- Does your front door wall face South or West with clear overhead sun access? → Yes: Mount plaque directly on front entry wall or main entryway column at 5 feet height.. No: Proceed to evaluating porch roof overhang depth.
- Does a porch eave or overhang cast shade on the wall for more than 3 hours midday? → Yes: Shift mounting location outward to the forward garage pillar or outer porch post.. No: Mount plaque on primary house facade wall 4 to 6 feet above ground.
- Does your front wall face North or suffer from heavy canopy shading? → Yes: Mount solar house plaque on roadside mailbox post or outer property entrance column.. No: Select East-facing garage wall section free of sidewall obstructions.
Post-Placement Action Plan
Your decision: Determine whether your primary front facade wall or an exterior mailbox post provides the optimal mix of direct sun and 100-foot roadway sightlines.
Do this next: Perform a 5-minute pre-drill check with the included positioning paper to verify alignment and level.
- Read next: How to Maximize Solar Panel Performance and Battery Life on Outdoor Address Signs
- Read next: Troubleshooting Dusk-to-Dawn Smart Light Sensors on Solar Address Lights
Upgrade your curb appeal with our Solar Lighted House Numbers (Colour Name) for reliable 12-hour warm illumination.
Once you have selected the ideal mounting location using our sun exposure matrix, take these immediate steps to execute a flawless installation.
Recommended All-Weather Solar House Numbers
Engineered for maximum outdoor durability and effortless installation on any exterior cladding.
Key Placement Rules at a Glance
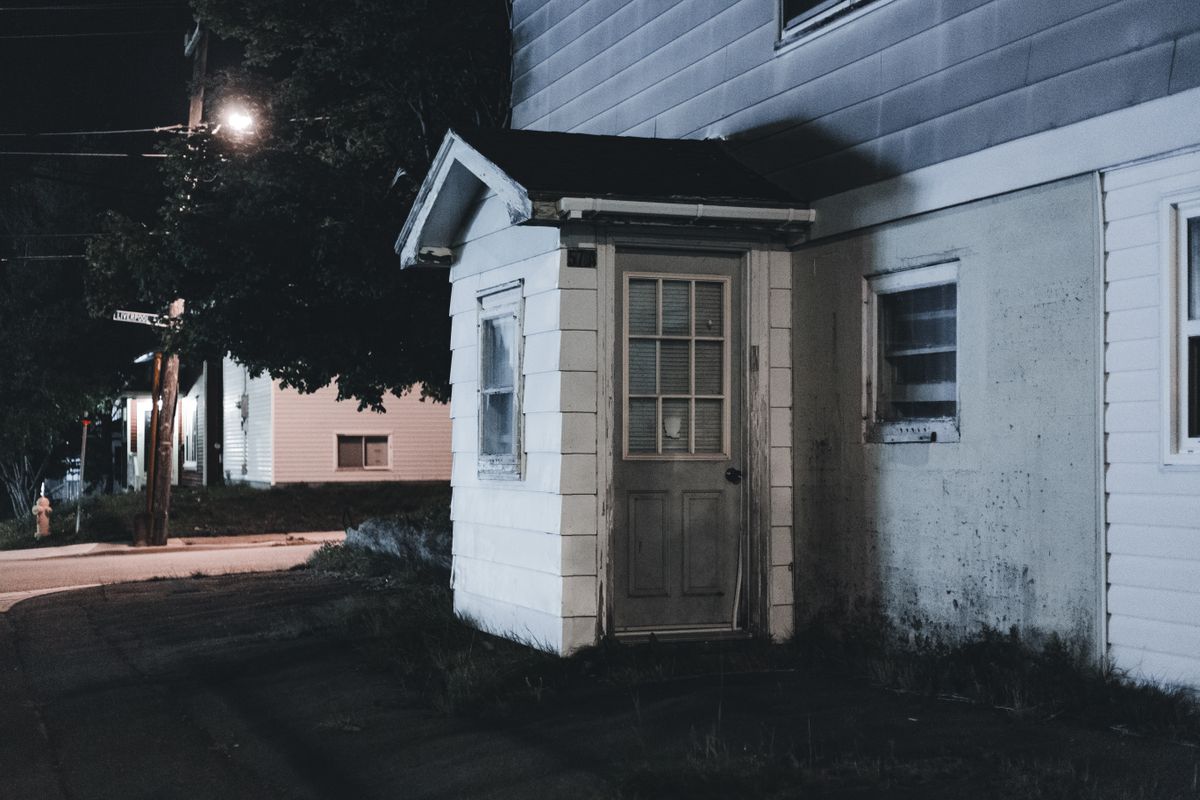
Photo by Erik Mclean on Pexels
- Target height: Mount between 4 feet and 6 feet off the ground for optimal headlight reflection and driver eye level.
- Solar exposure target: Select locations receiving 6 to 8 hours of direct, unshaded sun to ensure 12 hours of nighttime runtime.
- Overhang clearance: Keep top solar panel at least 12 inches forward or clear of deep roof eaves and porch soffits.
- Sensor isolation: Maintain 4 to 5 feet separation from floodlights or high-wattage porch light fixtures.
- Weather resilience: Rugged ABS & PC IP44 waterproof housing withstands severe rain, snow, freezing weather, and UV rays.
Visualizing Sightline Clearances and Sun Shadows
Reference this architectural layout guide to visualize how mounting height, roof shadow angles, and driver line-of-sight interact on a residential front elevation.
Top 5 Solar Address Sign Placement Pitfalls
Avoid these common mounting mistakes that undermine battery charging or render your address unreadable to emergency services.
Daylight & Nighttime Testing Timeline
- Hour 0 (Unboxing & Initial Switch) — Unpack the solar plaque, turn internal power switch ON, and place panel under direct sun or test sensor by covering solar panel with hands.
- Hours 1 to 7 (Peak Sun Charge Window) — Allow the solar panel to absorb 6 to 8 hours of uninterrupted sunlight to condition and fully charge the 600mAh NI-MH battery.
- Hour 8 (Dusk Activation Check) — Observe automatic light sensor activation at dusk. Confirm warm LED backlight illuminates clearly without flickering from nearby porch lamps.
- Hour 16 (Late Night Visibility Test) — Perform a drive-by vehicle check at midnight from 100 feet away to confirm clear legibility from car seat height.
- Hour 20 (Dawn Automatic Shutoff) — Verify automatic LED deactivation at daybreak as the light sensor initiates daytime recharging mode.
Frequently Asked Questions About Solar House Number Placement
Clear expert answers to common installation and placement dilemmas.