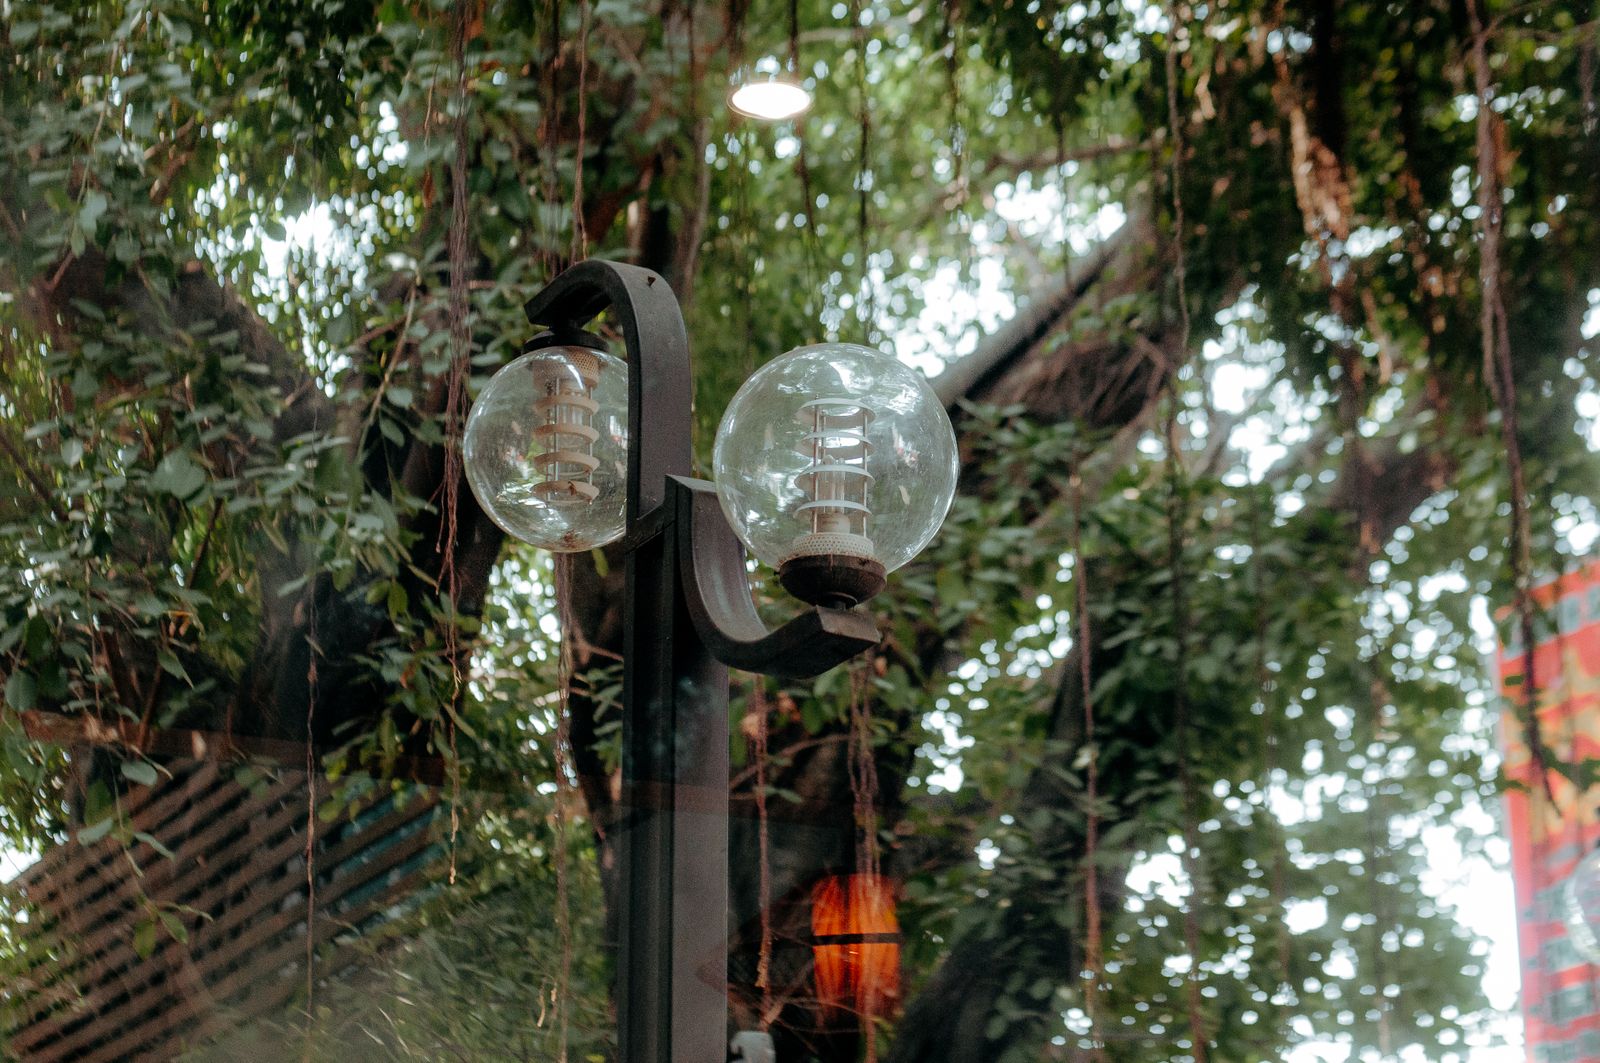
Solar Address Sign Placement Guide: Balancing Street Sightlines and Sunlight Exposure
This solar address sign placement guide is about balancing street sightlines and sunlight exposure so the plaque both charges and reads. Put solar lighted house numbers where a driver sees them from about 50 feet and where the panel still throws a sharp shadow. If those two spots are not the same wall, move the sign to a mailbox or yard post instead of picking only the prettier facade.
Street sightlines come first, then the sun check
Balancing starts with the approach. Stand in the street. The placement that fails sightlines fails the address, even if sunlight exposure is perfect around the corner. Then test the winning view for sun at mid-morning and mid-afternoon. No shadow, no charge for the 600mAh NI-MH battery.
A buying-guide mindset helps: you are placing a lighting system, not hanging art. Warm LED illumination and dusk-to-dawn sensors cannot bend around a garage or charge through an eave.
IP44 construction is happy in the weather that good sunlight exposure requires. Do not hide the sign to "protect" it.
How to balance when the wall fights you

Photo by Regina Tommasi on Pexels
If the street-facing wall is shaded, sunlight exposure wins by changing mounts, not by hoping. A mailbox at the curb often has both sightlines and sun. A yard post can be walked until both tests pass. Dual placement — box plus house — is valid on long lots.
Glow stickers balance nothing: no sun needed, no night sightline. Hardwired lights skip sunlight exposure and still need a sightline.
Placement balance table
| Placement | Street sightlines | Sunlight exposure | Balance verdict | | --- | --- | --- | --- | | Sunlit street wall | Strong | Strong | Best | | Pretty side wall | Weak | Maybe strong | Fails sightlines | | Shaded front porch | Strong view, weak sun | Weak | Move it | | Mailbox in open | Strong at curb | Often strong | Excellent balance | | Yard post at the turn | Strong for the drive | Strong if open | Excellent on long lots | | Glow stickers | Weak at night | N/A | Not in this guide |
This placement guide treats balancing street sightlines and sunlight exposure as the whole job.
Placement, visibility, and install checklist
- [ ] Mark the first street sightline from the approach.
- [ ] Shadow-test sunlight exposure at that same mark.
- [ ] If they disagree, choose mailbox or yard rather than a compromise wall.
- [ ] Set height above shrubs; keep about 50 feet of view.
- [ ] Aim the sensor at true night.
- [ ] Use positioning paper; $0 DIY with included screws.
- [ ] Clean the panel so exposure actually charges.
- [ ] Recheck after trees leaf out.
- [ ] Add a second solar sign if house and curb are both decision points.
Frequently asked questions
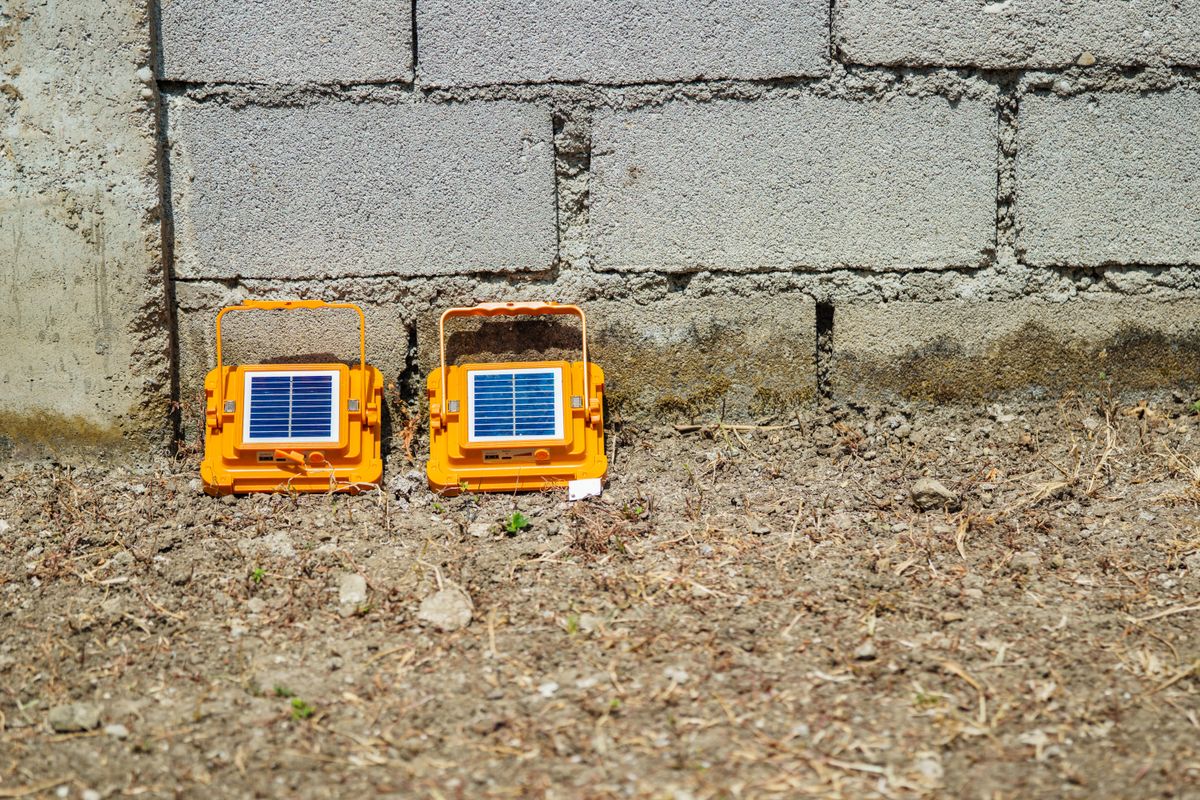
Photo by Nothing Ahead on Pexels
What if sightlines and sunlight never overlap on the house?
Then the house wall is the wrong placement. This guide says mailbox or yard.
Can I angle the plaque for more sun and still keep the sightline?
A slight turn toward the street is good. A face into the garden for sun kills visibility.
Does winter change the balance?
Yes. Repeat both tests when the sun is low.
Is a buying guide different from a placement guide?
You buy contrast and sensors; you place for sightlines and sunlight exposure. Both matter.
Do hardwired lights skip this balance?
They skip sun. They do not skip street sightlines.
Related reading
- yard visibility improvements
- how to install solar lighted house numbers
- long driveway navigation
- how solar signs charge in cloudy weather
What to do next
Walk the street, then walk the sun. Where those paths meet is the solar address sign placement this guide wants. If they meet on a mailbox or yard post instead of the door wall, hang the plaque there and keep both street sightlines and sunlight exposure.
Cover photo by 🇻🇳🇻🇳Nguyễn Tiến Thịnh 🇻🇳🇻🇳 on Pexels.