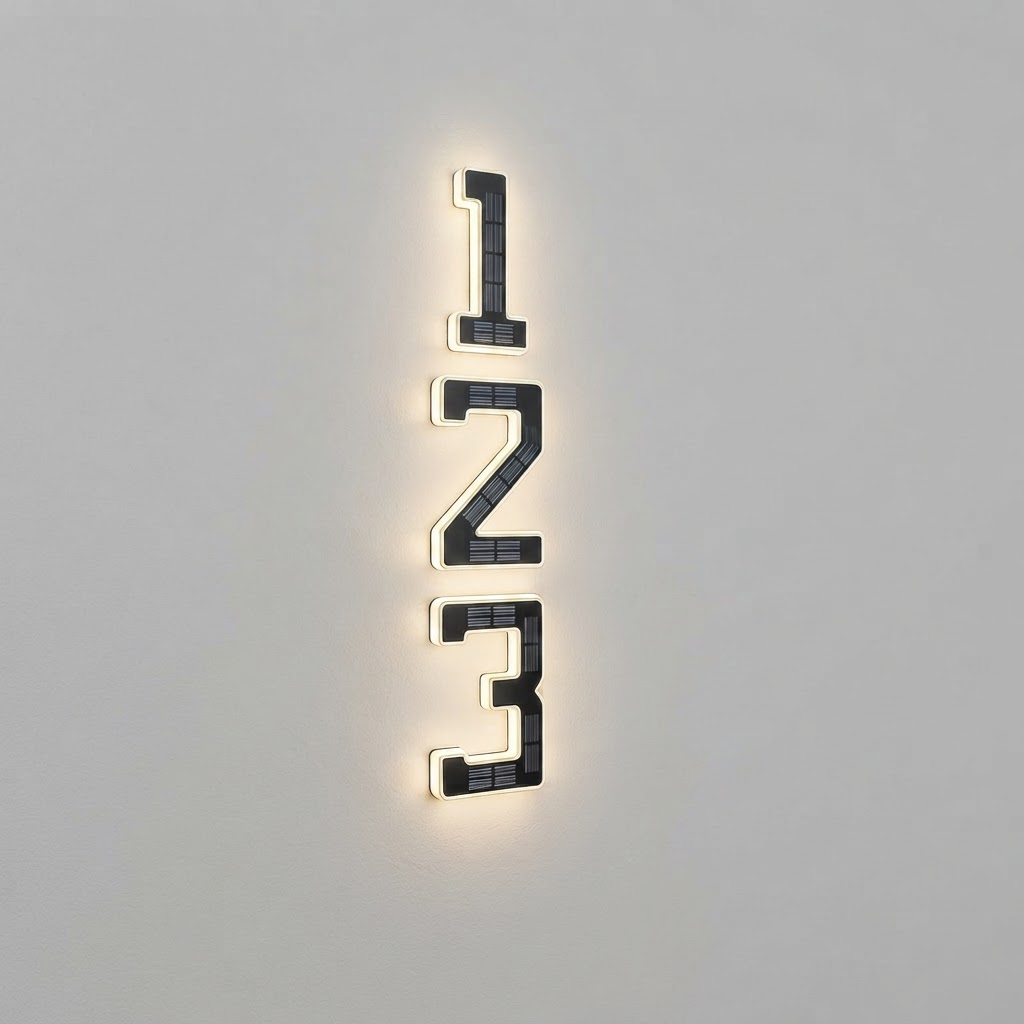
How to Install Solar Lighted House Numbers Step-by-Step
Step 1: Select an Unobstructed Location
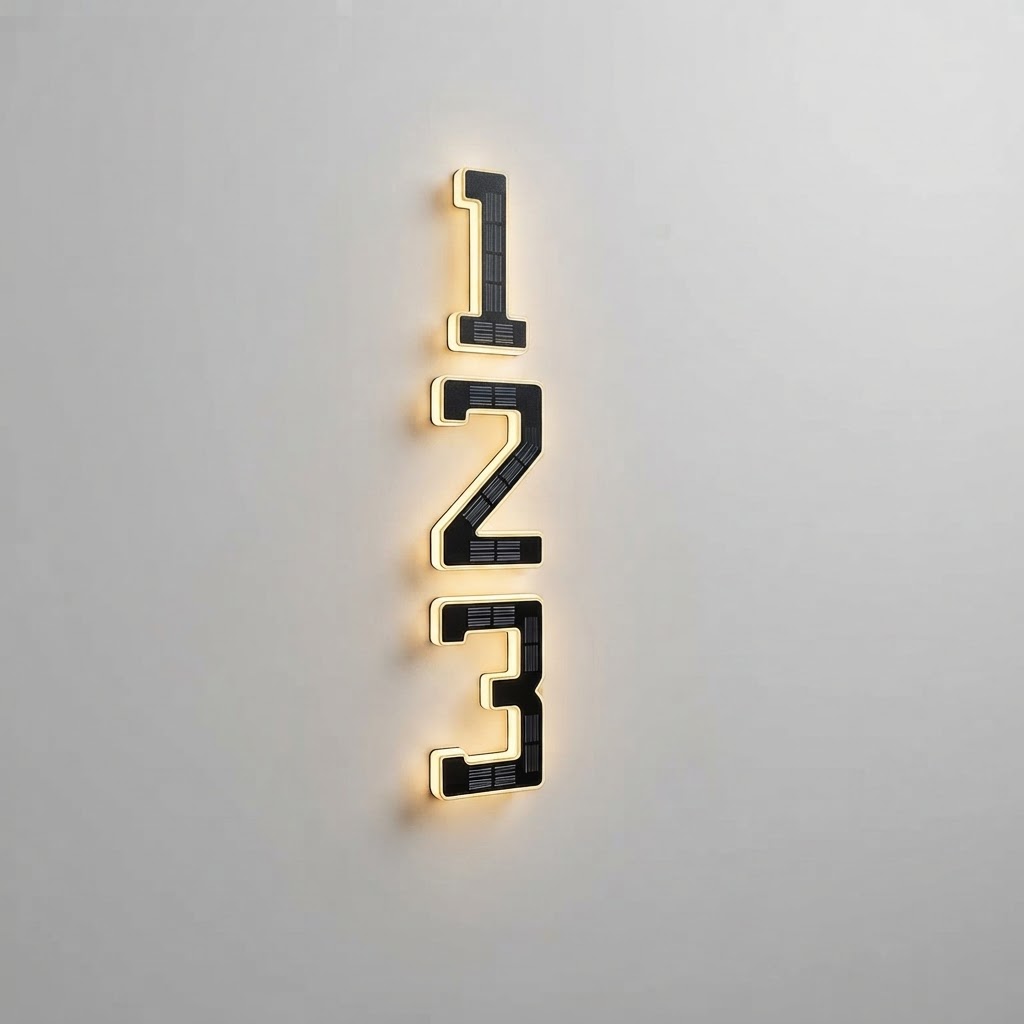
Before mounting your new solar house numbers, select an exterior wall or fence location that receives direct, unshaded sunlight. Because the fixture features built-in solar panels on the surface, choosing a bright location ensures the internal 600mAh NI-MH battery receives sufficient light to charge fully over 6-8 hours. For comprehensive advice on choosing exterior mounting locations, refer to [the main guide]. Spend a day checking the spot before you drill, because this decision determines whether the unit works well or disappoints, and it is the one step that cannot be corrected afterwards without patching holes. Look at the intended position in the morning, at midday, and in mid-afternoon, and note when it falls into shadow. A wall that is bright at noon but shaded from two o'clock onward loses a large share of the day's charging in winter, when it can least afford to.
In the northern hemisphere a south-facing wall collects the most, east and west are workable, and north-facing is the one to avoid if there is any alternative. Reverse those for the southern hemisphere.
Check three other things while you are there. Overhanging eaves or a porch roof can shade a panel through the middle of the day even when the wall looks open. Deciduous planting that is bare in March will be in full leaf by July, so judge trees at their summer size rather than their current one. And look at nearby light sources, since a porch lamp or street light shining onto the sensor is the most common cause of a unit that never switches on.
Step 2: Use Positioning Paper to Align Holes
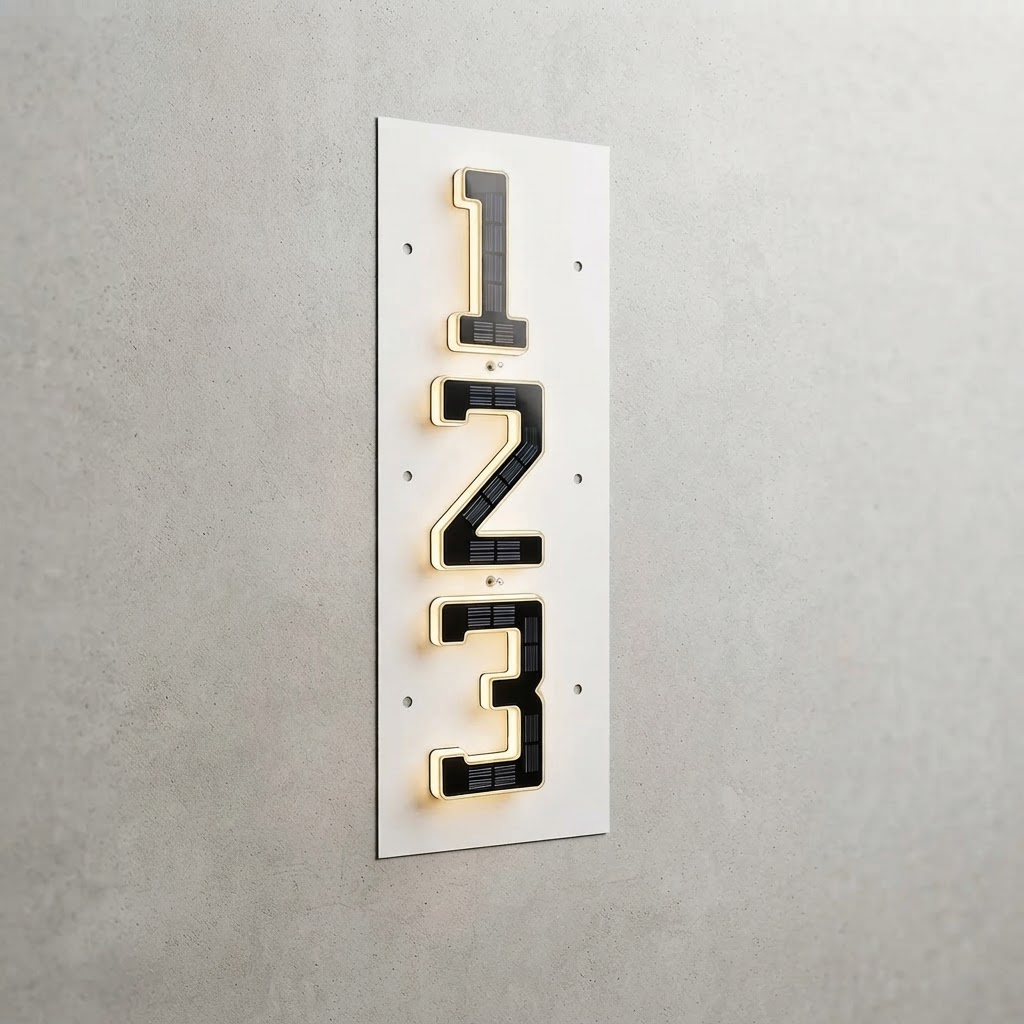
Place the included positioning paper against your desired mounting surface (such as wood, brick, or vinyl siding). Use a level to ensure the guide is straight. Mark the drill points through the template paper accurately to prevent crooked installations or improper hole spacing. Tape the template at all four corners rather than two. Paper shifts under a drill bit, and a template that rotates a few millimetres between the first hole and the last produces a plaque that will not sit flat on its screws.
Height is worth deciding deliberately. Roughly eye level, around 150 centimetres or five feet from the ground, suits most front elevations: high enough to clear planting and parked cars, low enough to read from a car window. If the house sits well back from the road, err higher.
Mark the drill points with a pencil through the template, then take the paper off and check the marks against a spirit level before drilling. This is the last moment at which a mistake costs nothing. On brick, aim for the mortar joints rather than the face of the brick where the spacing allows: mortar is far easier to drill, takes a plug well, and is straightforward to make good if you ever remove the fixture.
Step 3: Mount the Address Plaque Securely
Using a drill bit matching your wall type, create pilot holes at the marked points. Insert wall anchors if mounting to brick or masonry, then secure the mounting frame with the included screws. With an estimated installation cost of $0 (DIY), this step requires basic household tools and can be completed in minutes. Match the fixing to the wall. Wood and composite cladding take the supplied screws directly. Brick, block, and render need a masonry bit and wall plugs sized to the screw, drilled to the depth of the plug and no deeper. On vinyl or metal siding, do not overtighten: siding expands and contracts with temperature, and a fixture screwed down hard against it will buckle the panel by the first hot afternoon. Leave the screws firm but not crushing.
Drill on the slowest speed the tool offers, and let the bit cut rather than leaning on it. Excess pressure is what cracks tiles, chips render, and splits the face of a brick.
Once mounted, stand back at street distance and look at it before you pack the tools away. Small alignment errors that are invisible at arm's length are obvious from the pavement, and this is the only convenient moment to correct one.
Step 4: Allow Initial Battery Charging
Once securely fastened, allow the unit to charge in daylight for 6-8 hours before nightfall. The intelligent light sensor will automatically detect dusk, turning on the warm LED lights for up to 12 hours of night illumination.
Read the full guide: The Comprehensive Guide to Solar Lighted House Numbers
Give it a full day or two of daylight before judging the result, and be aware that a nickel-metal hydride cell often needs two or three complete charge and discharge cycles before it reaches full capacity. A unit that runs for six hours on its first night and eleven by the fourth is behaving normally, not failing.
Many units ship with a small pull tab or a switch that isolates the battery in transit. If nothing happens at all on the first evening, check for that before troubleshooting anything else, because it is the most common cause of a brand-new solar fixture appearing dead.
After that, the only routine maintenance is the panel. Dust, pollen, and hard-water spotting build a film that cuts charging noticeably over a season, and a wipe with a damp cloth two or three times a year restores it. Clear snow off promptly in winter, and give the panel a wipe after any long dry spell that ends in rain, which is when spotting tends to be worst.