How to Mount Solar Address Signs on Vinyl Siding Without Drilling
Mounting a solar address sign on vinyl siding without drilling means hanging the plaque on a siding course or a vinyl-rated clip so the fastener never enters the wall cavity. The kit includes screws and positioning paper for solid walls; on vinyl those screws belong in blocking or stay unused. Keep the solar panel in daylight, keep numerals facing the street, and leave the vinyl free to expand. A no-drill hang that sits in shade is still a dark address.
No-drill on vinyl means hanging on a course, not skipping a mount
Vinyl siding is a rainscreen skin, not a structural wall. Drilling through a course into empty cavity is how water finds sheathing and how a screw walks out in wind. A no-drill mount clips into the locking strip of a course, the same way outdoor fixtures hang when a renter or an HOA will not allow new penetrations.
Tape the positioning paper across two courses so the numerals sit level, then transfer the clip locations without punching a pilot through the vinyl. The intelligent light sensor needs a clear view of dusk, not a porch lamp that keeps the sign off. Warm LED numerals on a black-and-white face only help if the plaque faces the approach. Adhesive pads on dusty, expanding vinyl fail in heat; a course-hung clip is the reversible path. The guide to installing solar address signs on vinyl siding covers when screws into blocking are the better hold.
Why screws through vinyl-only skins fail

Photo by Regina Tommasi on Pexels
Screws included with a solar plaque are meant for wood, masonry backer, or other solid stock. Driven only into a thin vinyl face, they crush the course, telegraph a bump, and loosen as the panel expands in summer and contracts in winter. Overtightening an ABS and PC housing against wavy siding warps the solar face so the 6-8 hour charge window shrinks.
If blocking sits behind the chosen course, a screw path is no longer a no-drill job: hit the backer, leave a little play, and do not pinch the vinyl. For a true no-drill hang, leave those screws in the bag and use a clip rated for outdoor fixtures on vinyl. IP44 handles rain on vinyl the same as on wood; it does not fix a crushed course. See troubleshooting loose solar address lights across wall types if an existing screw job is already walking out.
Sun and street view still beat a clean siding face
A reversible clip on a north gable that never sees useful sky will not fill a 600mAh Ni-MH pack. Charging for 6-8 hours under sufficient light is what supports about 12 hours of illumination. Shade from a deep soffit or a dense shrub is a placement miss, not a reason to drill.
Street view is the second filter. Readability is listed at 50 feet. If the chosen course is behind a parked car or a column, move the hang onto a mailbox post instead of forcing the vinyl. Keep porch floodlights off the sensor so warm LED numerals actually come on at dusk. Wipe vinyl dust off the solar face after the hang so the first charge is real daylight.
No-drill vinyl options versus when to switch methods
| Method | Wall cavity | Use when | Skip when | | --- | --- | --- | --- | | Siding-course clip | Not entered | Renter, HOA, or reversible hang | High-wind wall with no sound course | | Screws into blocking | Entered at backer | Stud or backer is known | You want zero new holes | | Screws in vinyl only | Skin only | Never | Always on vinyl-only skins | | Mailbox or yard post | None on siding | Shaded or hidden vinyl wall | The street view is already on that wall | | Adhesive pads | None | Almost never | Heat, dust, and expanding vinyl |
Positioning paper still matters on a moving skin
Level numerals across overlapping courses. Vinyl lock lines are not a carpenter's level. Tape the positioning paper, step to the street, and confirm the plaque will clear shrubs. Then hang the ABS and PC housing with a little float so seasonal expansion does not oil-can the course. After the first full charge, watch dusk: the sensor should bring the warm LED on without a switch.
No-drill vinyl mounting checklist
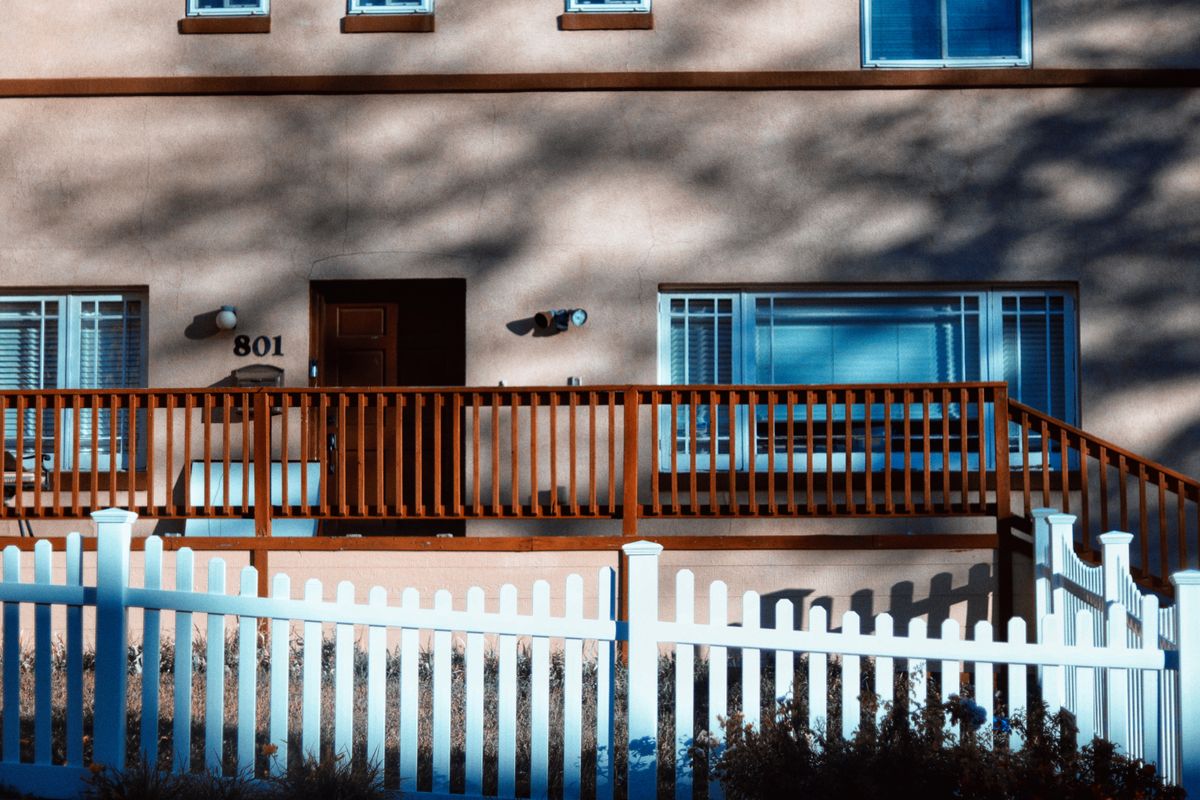
Photo by Eduardo Avila Carbajal on Pexels
- [ ] Confirm the wall face gets useful daylight for a 6-8 hour charge.
- [ ] Confirm about 50 feet of street view with no parked-car block.
- [ ] Tape positioning paper across courses and check level from the curb.
- [ ] Hang on a sound course with a vinyl-rated clip; do not screw vinyl-only skins.
- [ ] Keep the intelligent light sensor out of porch glare.
- [ ] Wipe dust off the solar panel and wait for a dusk-to-dawn cycle.
Frequently asked questions
Does a no-drill vinyl mount use the included screws?
Usually no. The included screws are for solid walls. A true no-drill hang uses a course clip so the cavity is never entered.
Will a siding clip hold in wind?
A compact plaque on a sound course is the intended case. If the wall is a wind funnel or the course is brittle, screws into blocking or a mailbox post are the safer hold.
Can adhesive replace a clip?
Not as a plan. Expanding vinyl, dust, and summer heat are why pads let go. A mechanical hang on the course is the reversible path.
What if the only sunny vinyl is the wrong street view?
Move the sign to a mailbox or yard post that has both sun and curb view. A perfect clip on the wrong wall is still a missed address.
Does IP44 change because the wall is vinyl?
No. IP44 is a housing rating for rain. Vinyl movement is a mounting problem, not a waterproofing upgrade.
Related reading
Screws versus hooks, wall-type troubleshooting, and a general exterior install sit next to this no-drill vinyl path.
- installing solar address signs on vinyl: screws versus siding hooks
- troubleshooting loose solar address lights on different walls
- DIY exterior-wall install for solar address signs
What to do next
Walk the vinyl wall at curb distance and pick a course that has both daylight and a 50-foot street view. Tape the positioning paper, hang on a vinyl-rated clip, and keep the included screws for a solid backer or a mailbox post. After one full charge, confirm the sensor brings the warm LED on at dusk.
Cover photo by Kindel Media on Pexels.