
How to Install Solar Address Signs on Your Exterior Wall: A DIY Step-by-Step Guide
Install solar address signs on your exterior wall with this DIY step-by-step guide: pick a sunlit, street-facing patch, tape the positioning paper, match fasteners to the siding, and snug the included screws without twisting the housing. Estimated installation cost is $0 DIY. If the exterior wall has no sky, this guide will tell you to use a mailbox or yard post instead of forcing a dark facade.
Step-by-step on the wall
IP44 construction handles rain on an exterior wall. It does not charge through a soffit. This DIY step-by-step guide treats sun as a required step, not an optional extra.
When the wall is the wrong DIY project
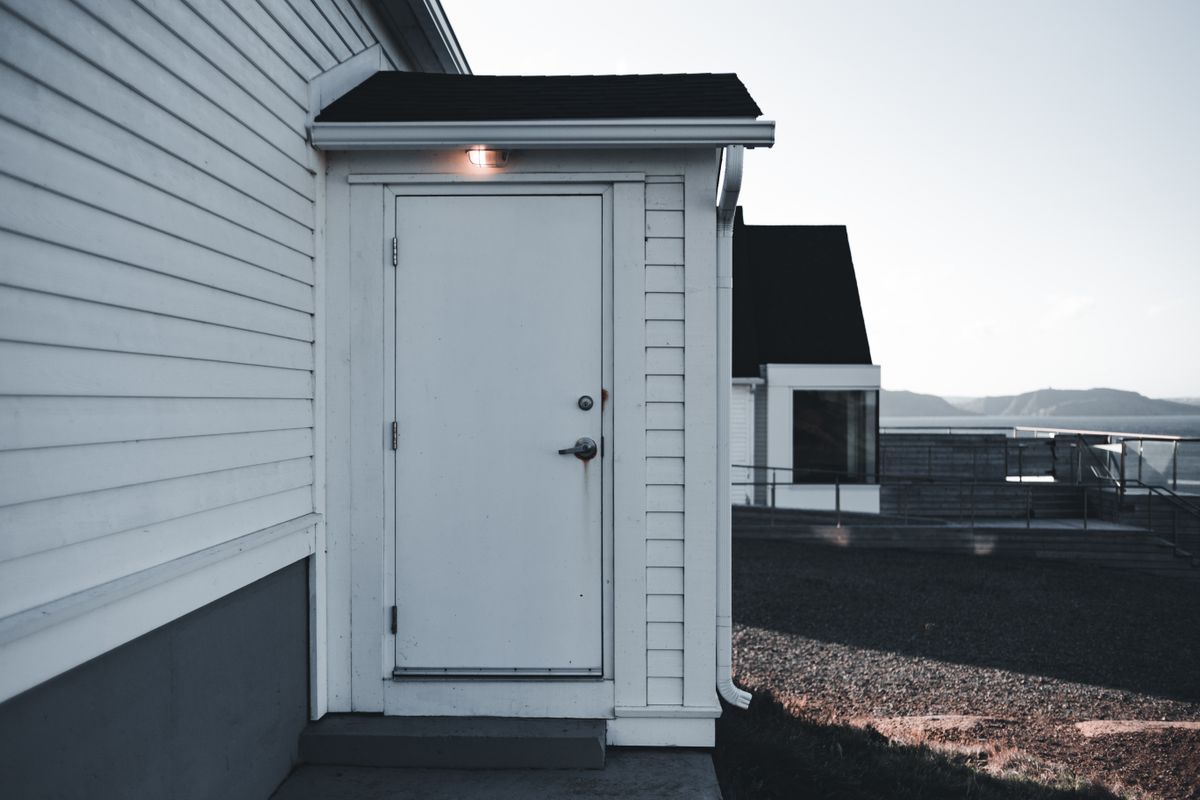
Photo by Erik Mclean on Pexels
A shaded north exterior wall will take screws beautifully and never light. Install the solar address sign on a mailbox or yard post that still faces the street. Glow stickers skip steps and skip lighting. Hardwired wall lanterns skip the panel and add an electrician — not this $0 DIY path.
Wall vs mailbox vs yard, solar vs hardwired vs glow
| Path | DIY on exterior wall? | Night result | | --- | --- | --- | | Solar sign, sunlit wall | Yes — this guide | Dusk-to-dawn glow | | Solar sign, shaded wall | No — move it | Failure | | Mailbox solar | Skip the wall | Strong curb view | | Yard post solar | Skip the wall | Strong drive view | | Hardwired wall light | Not $0 DIY | Powered glow | | Glow stickers | Peel only | Weak afterglow |
How to install solar address signs is half fasteners and half refusing the wrong exterior wall.
Placement, visibility, and install checklist
- [ ] Street view first, sun second, drill third.
- [ ] Positioning paper on the exterior wall, level and high enough.
- [ ] Surface-matched bits and anchors.
- [ ] Included screws snug, housing square.
- [ ] Sensor away from lamps; panel toward sky.
- [ ] Battery tab out; switch on.
- [ ] Full sunny charge before judging.
- [ ] Recheck from about 50 feet after dark.
- [ ] If the wall fails sun, DIY the mailbox or yard instead.
Frequently asked questions

Photo by Christina & Peter on Pexels
Can a beginner follow this DIY step-by-step guide?
Yes. Layout, two to four fasteners, and a sun check. Estimated installation cost is $0 DIY.
Do I need a stud in every exterior wall?
Wood wants a stud or solid trim. Vinyl wants blocking or hooks. Brick wants masonry anchors. The guide changes with the surface.
What if I hang it crooked?
Use the positioning paper. Crooked numbers hurt visibility more than a slightly lower height.
Can I install under a porch roof?
Only if the solar face still sees sky. Most porches fail that test.
Are glow stickers an easier DIY?
Easier and darker. This guide is for solar address signs that actually light.
Related reading
- how to install solar lighted house numbers
- how to install LED solar house numbers for wall
- how to install solar powered street address numbers
- how to install floating solar powered house numbers
What to do next
Tape the positioning paper on the sunniest street-facing patch of your exterior wall. If that patch is real sky, follow this DIY step-by-step guide and install the solar address sign with the included screws. If it is not, take the same plaque to a mailbox or yard post tonight.