Troubleshooting Solar Lighted House Numbers: Mounting & All-Season Care Guide
To resolve dimming, flickering, or unlit solar lighted house numbers, position the plaque where it receives 6–8 hours of direct, unshaded sunlight daily. Clean the ABS & PC casing with a damp microfiber cloth to clear dirt, ensure nearby ambient lighting isn't disabling the light sensor, and inspect or replace the standard 600mAh Ni-MH rechargeable battery.
Pre-Mounting & Diagnostic Inspection Checklist
- Unpack plaque, number stencils, mounting screws, and positioning paper.
- Charge unit in direct sunlight for 6–8 hours prior to initial night activation.
- Verify clear wall clearance away from dense tree branches or wide roof soffits.
- Test automatic light sensor by placing a dark cloth completely over the top solar panel.
- Confirm wall surface material (brick, stucco, vinyl, or wood) to select correct anchors.
- Inspect IP44 silicone seals around the ABS & PC housing for tight fit.
Step-by-Step Surface Mounting Guide for All Exterior Materials
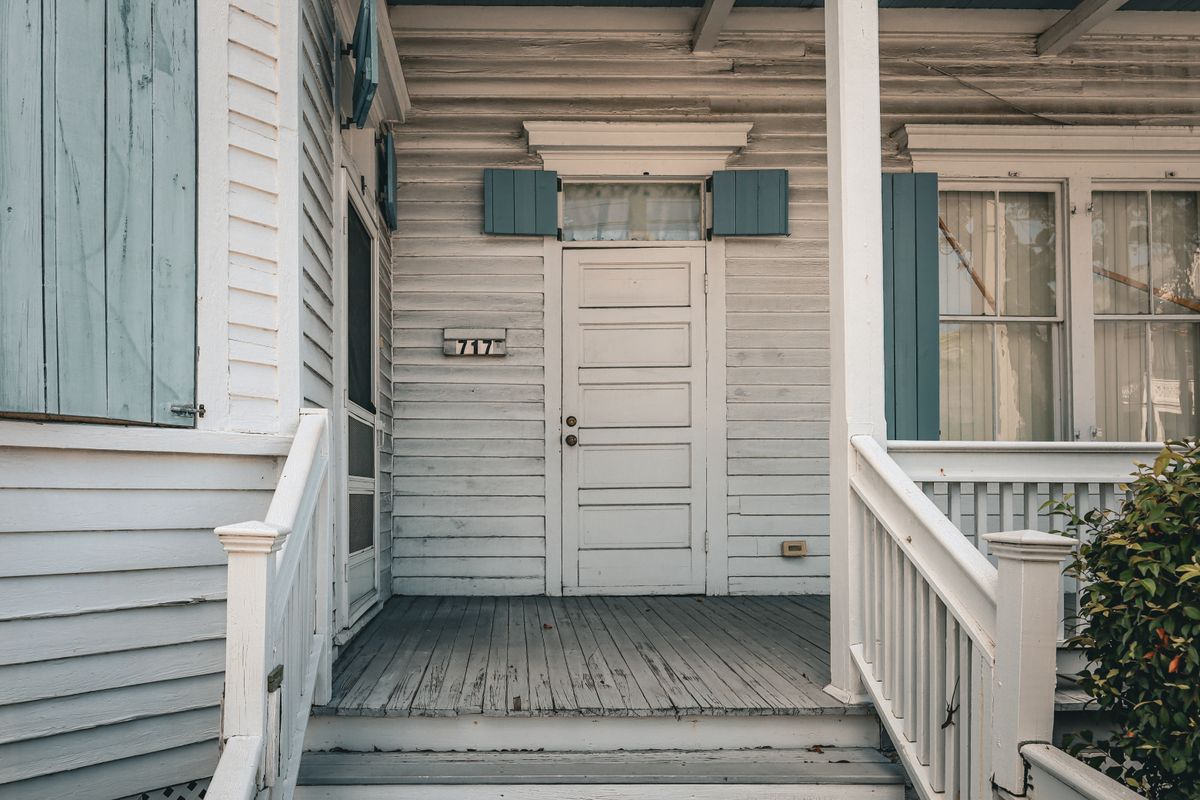
Photo by Arian Fernandez on Pexels
Pro Tip: Optimizing Sun Angle and Dusk Sensor Placement
Ambient light pollution from nearby porch fixtures or streetlights is the single most common cause of dusk-to-dawn light sensor failure. Always mount your solar address plaque at least 3 to 5 feet away from external light sources to ensure the internal light sensor properly detects dusk. Additionally, in North America, orienting the solar panel facing South or Southwest maximizes total daily irradiance.
All-Season Solar Panel & Illumination Maintenance Calendar
| Season | Focus Area | Action Required |
| --- | --- | --- |
| Spring | Pollen & Grime Removal | Wipe solar cell top and PC lens using warm water and microfiber cloth to remove green pollen film. |
| Summer | Heat & UV Inspection | Check ABS plastic frame for heat warping and confirm IP44 rubber seal remains pliable and watertight. |
| Fall | Foliage Clearance & Angle | Trim back overgrown tree foliage blocking autumn sun angles; clean fallen leaves off top panel. |
| Winter | Snow Clearing & Battery Care | Gently brush off ice and snow with a soft cloth after storms; verify 600mAh Ni-MH battery retains full night charge. |
Seasonal changes directly affect solar energy absorption and optical clarity. Follow this quarterly calendar to maintain peak 12-hour performance.
Solar House Number Diagnostic Matrix: Symptoms, Causes & Fixes
| Symptom | Possible Cause | Diagnostic Test | Recommended Fix |
| --- | --- | --- | --- |
| Light fails to turn on at night | Sensor blinded by ambient light or master switch off | Cover top solar panel completely with a black cloth at night | Switch power to ON; relocate plaque away from streetlights or porch fixtures |
| Flickering warm LED light | Depleted 600mAh Ni-MH battery or loose terminal connection | Expose plaque to 8 hours direct sun; test steady output in dark room | Reseat battery terminals or replace with fresh standard 600mAh Ni-MH rechargeable battery |
| Short runtime (< 4 hours) | Dirty solar panel or winter solar shading | Inspect panel for haze, dirt, or roof soffit shadows between 10 AM and 2 PM | Clean panel with damp microfiber cloth; adjust mounting position further down wall |
| Water droplets inside PC casing | Damaged IP44 housing seal or compromised screw gasket | Inspect perimeter rubber seal for cracks or gap misalignments | Dry interior with cloth, re-align silicone gasket, and tighten casing screws firmly |
Use this diagnostic guide to isolate charging errors, sensor blinding, or battery degradation.
Key Takeaways for All-Season Visibility
- Position solar house numbers to receive at least 6-8 hours of direct, unshaded sunlight daily for optimal 12-hour nighttime illumination.
- Maintain automatic light sensor responsiveness by installing plaques at least 3 feet away from bright porch or street lights.
- Clean top solar panels quarterly with warm water and a soft microfiber cloth; never use harsh chemicals or metal ice scrapers on PC lenses.
- Replace the rechargeable 600mAh Ni-MH battery every 12 to 18 months—never substitute with non-rechargeable alkaline batteries.
- Ensure IP44 water resistance integrity by periodically inspecting rubber gaskets and mounting seals against weather ingress.
Recommended Equipment & Replacement Parts
For dependable outdoor address illumination, choose fixtures built with weather-resistant materials and efficient solar charging components.
600mAh Ni-MH Battery Maintenance & Replacement Schedule
- Initial Unboxing (Day 1) — Set switch to ON and charge outdoors in direct sun for 8 full hours prior to first night operation.
- Monthly — Inspect solar glass panel and white address plate face for dirt, bird droppings, or sap; wipe clean.
- Bi-Annually (6 Months) — Open battery compartment, check 600mAh Ni-MH battery contacts for corrosion, and clean terminals with a dry cotton swab.
- 12–18 Months — Replace aging 600mAh Ni-MH cell with a fresh rechargeable Ni-MH battery to restore full 12-hour runtime capacity.
Visual Installation & Sun Clearance Diagrams
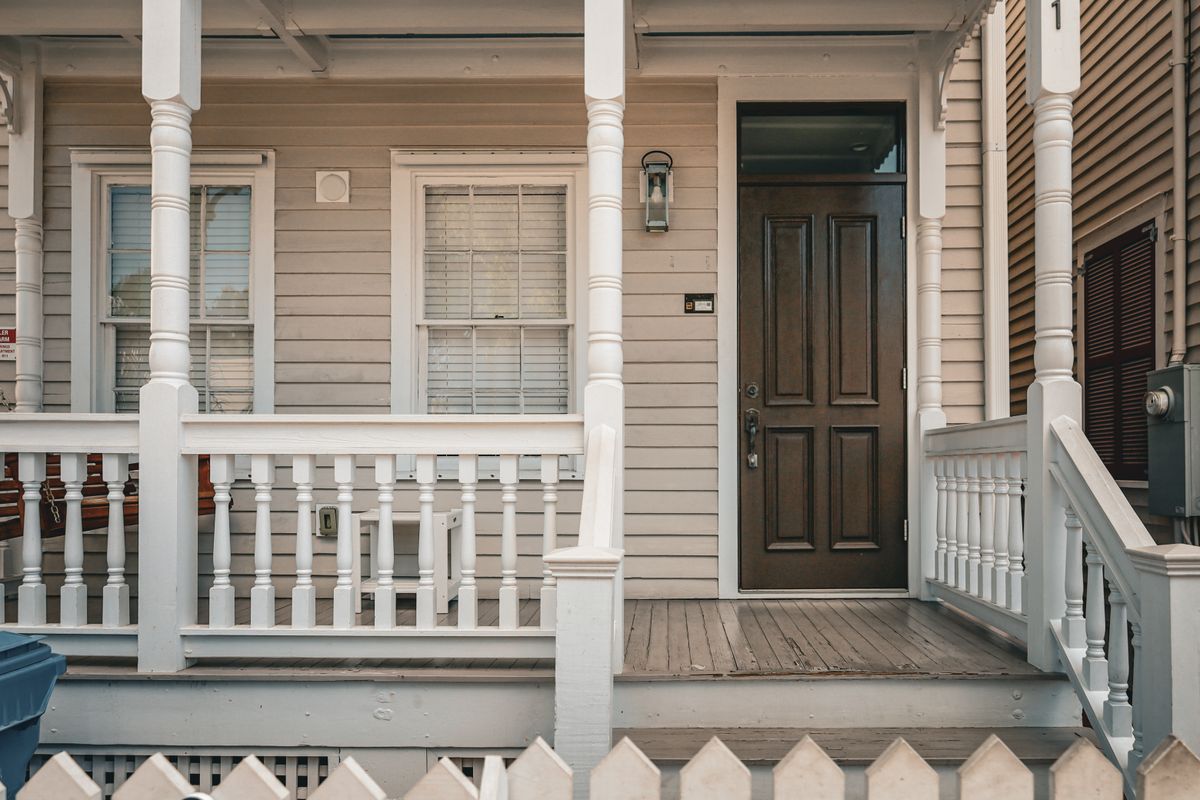
Photo by Arian Fernandez on Pexels
Refer to this diagram specification when selecting wall placement relative to roof overhangs and tree lines.
5 Common Errors That Ruin Solar House Number Performance
Avoid these common setup and cleaning errors that prematurely degrade LED brightness and solar battery life.
Battery Care & Installation Performance Timeline
- Day 1 — Initial 6-8 hour solar conditioning charge delivers 12 hours of continuous warm LED brightness.
- Month 1 - 6 — Peak operating efficiency; automatic light sensor seamlessly toggles dusk-to-dawn lighting.
- Month 6 - 12 — Routine cleaning keeps charging speed optimal; inspect IP44 seals before winter weather.
- Month 12 - 18 — 600mAh Ni-MH battery capacity naturally degrades to ~70%; replace cell to maintain 12-hour night runtime.
Frequently Asked Questions About Solar House Number Troubleshooting
Answers to technical questions regarding light sensors, battery compatibility, and winter care.
Related Resources & Architectural Styling Guides
- The Comprehensive Guide to Solar Lighted House Numbers
- Solar Lighted House Numbers FAQ: Everything You Need to Know
- How to Install Solar Lighted House Numbers Step-by-Step
Action Plan: Next Steps for Long-Term Address Sign Reliability
Your decision: Determine whether your solar address plaque needs a mounting location adjustment, surface cleaning, or a simple 600mAh Ni-MH battery replacement.
Do this next: Inspect your solar plaque today using our diagnostic checklist: clean the PC cover, test dusk sensor by covering the solar top, and ensure 6-8 hours of direct daylight exposure.
- Read next: Solar House Numbers Maintenance and Troubleshooting Guide
- Read next: Where to Install House Numbers for Maximum Visibility
Upgrade to the Solar Lighted House Numbers (Colour Name) for reliable 12-hour night illumination.
Follow this action plan to maintain 12-hour night illumination for visitors and emergency service personnel.
Cover photo by Erik Mclean on Pexels.