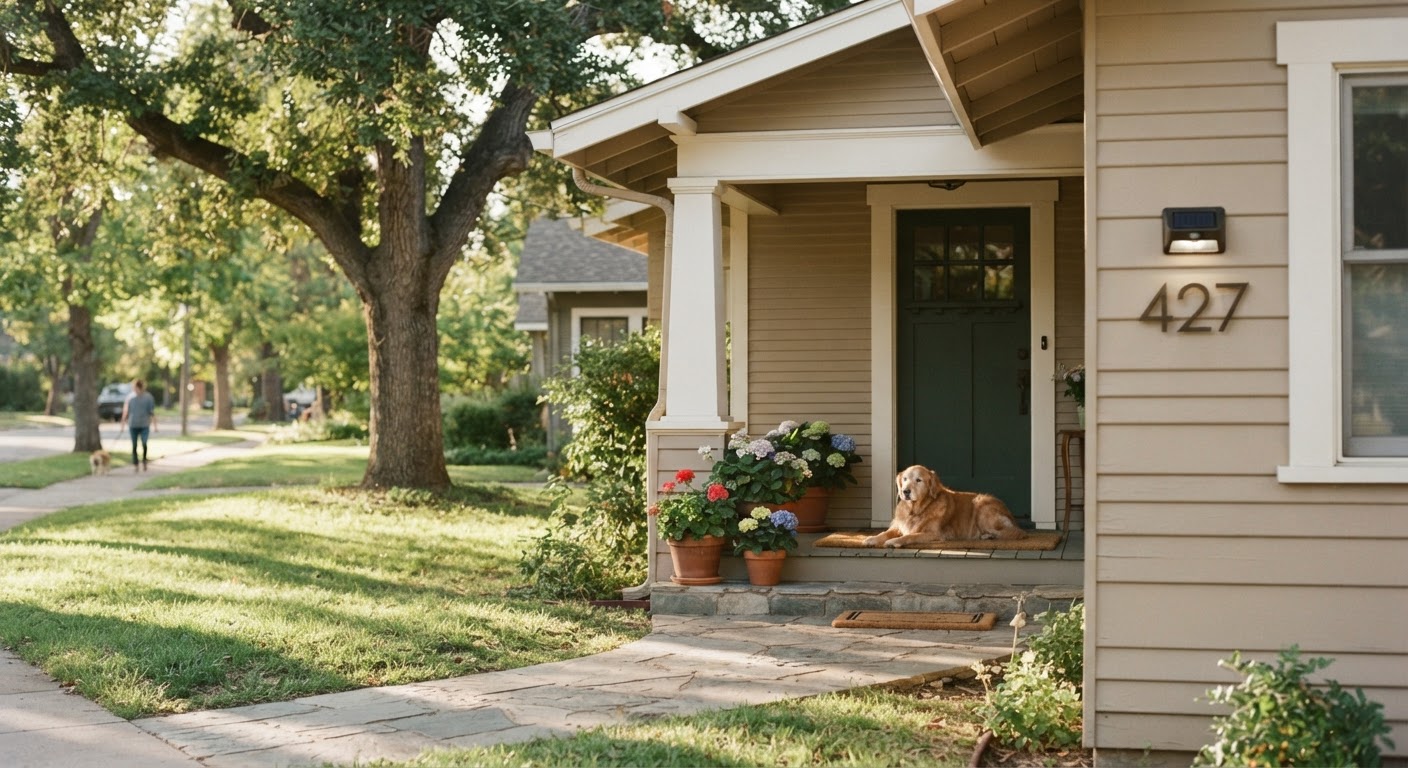
Solar Lighted House Numbers FAQ: Everything You Need to Know
Essential Frequently Asked Questions
How long does the battery last on a single solar charge?
The internal 600mAh NI-MH battery requires 6-8 hours of charging under sufficient daylight to provide up to 12 hours of continuous evening illumination. To learn more about optimizing daylight positioning, consult [the main guide]. Two things change that figure in practice, and both are worth planning for. The first is season: in midwinter, short days and a low sun angle can cut charging time roughly in half in northern latitudes, and a plaque that runs all night in June may fade by two or three in the morning in December. The second is orientation. A panel facing south in the northern hemisphere collects far more than one facing north, and a wall shaded by a porch roof, a hedge, or a neighbouring building for part of the day loses proportionally more than people expect.
Battery capacity also declines with age. Nickel-metal hydride cells typically hold most of their capacity for the first couple of years and then taper, so a unit that ran twelve hours when new may run eight or nine by its third winter. That is normal cell ageing rather than a fault, and it is usually the first sign that the battery, not the light, needs attention.
Do solar house numbers work in rain or snow?
Yes. Constructed from tough ABS & PC material, the address plaque features an IP44 waterproof design engineered specifically to withstand rain, snow, and UV rays without damaging internal electrical components. It is worth being precise about what the IP44 rating actually promises, because the number is often read as meaning more than it does. The first digit, 4, means the housing keeps out solid objects larger than a millimetre, so insects and windblown grit stay out. The second digit, also 4, means it is protected against water splashing from any direction. That covers rain, snow, and spray thrown up from a driveway.
What it does not cover is immersion or high-pressure water. Do not aim a pressure washer at the unit when cleaning the wall around it, and do not mount it where runoff from a broken gutter will pour directly onto it. Snow raises a separate practical issue that has nothing to do with waterproofing: settled snow across the panel blocks charging entirely, so after heavy snowfall the panel needs brushing clear or the unit simply will not light that evening.
How does the automatic lighting function work?
The fixture contains an intelligent light sensor that monitors ambient light levels. It automatically activates warm LED lighting at night and shuts off during daylight hours to preserve power and recharge the battery. The sensor works by reading ambient light levels, which means it can be fooled by anything bright nearby. A porch light, a security floodlight, or a street lamp shining directly onto the sensor can keep the unit from switching on at dusk, and this is by far the most common reason a working unit appears dead. If yours stays dark in the evening while the battery is healthy, check what else is illuminating it before assuming a fault.
The reverse also happens. A unit mounted somewhere permanently shaded, under a deep porch or on a north-facing wall in heavy shadow, can read the low light as dusk and switch on during the day, which drains the battery on the one day it most needed charging. The fix for both problems is the same: move it to a position with a clear view of open sky and away from other light sources.
What tools are required for DIY installation?
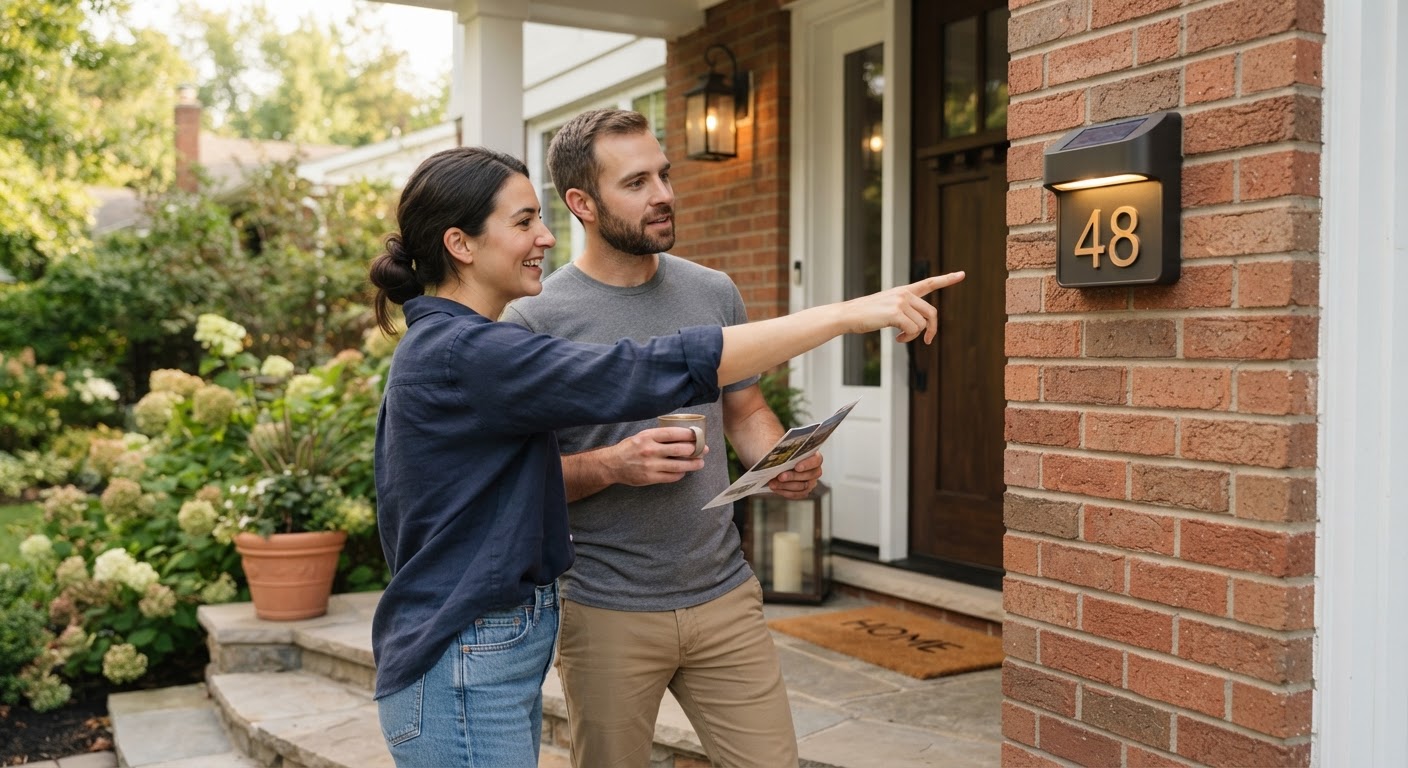
Installation requires standard home tools such as a handheld drill or screwdriver. The product comes complete with mounting screws and positioning paper to ensure simple, accurate installation at an estimated installation cost of $0 (DIY).
Read the full guide: The Comprehensive Guide to Solar Lighted House Numbers
The tool list changes with the wall surface, and that is the part worth checking before you start. Wood, vinyl siding, and composite cladding take ordinary screws with a standard drill bit. Brick, block, and rendered masonry need a masonry bit and wall plugs, and ideally a hammer drill, since a standard drill will struggle and overheat in engineering brick. Fibre cement board needs a slow drill speed and gentle pressure to avoid chipping the face.
A spirit level matters more than the drill. Address numbers sit at eye height and are viewed straight on from the street, so even a couple of degrees of tilt is obvious from the pavement and impossible to ignore afterwards. Mark through the positioning paper, check the marks with a level before drilling rather than after, and the job takes about fifteen minutes.