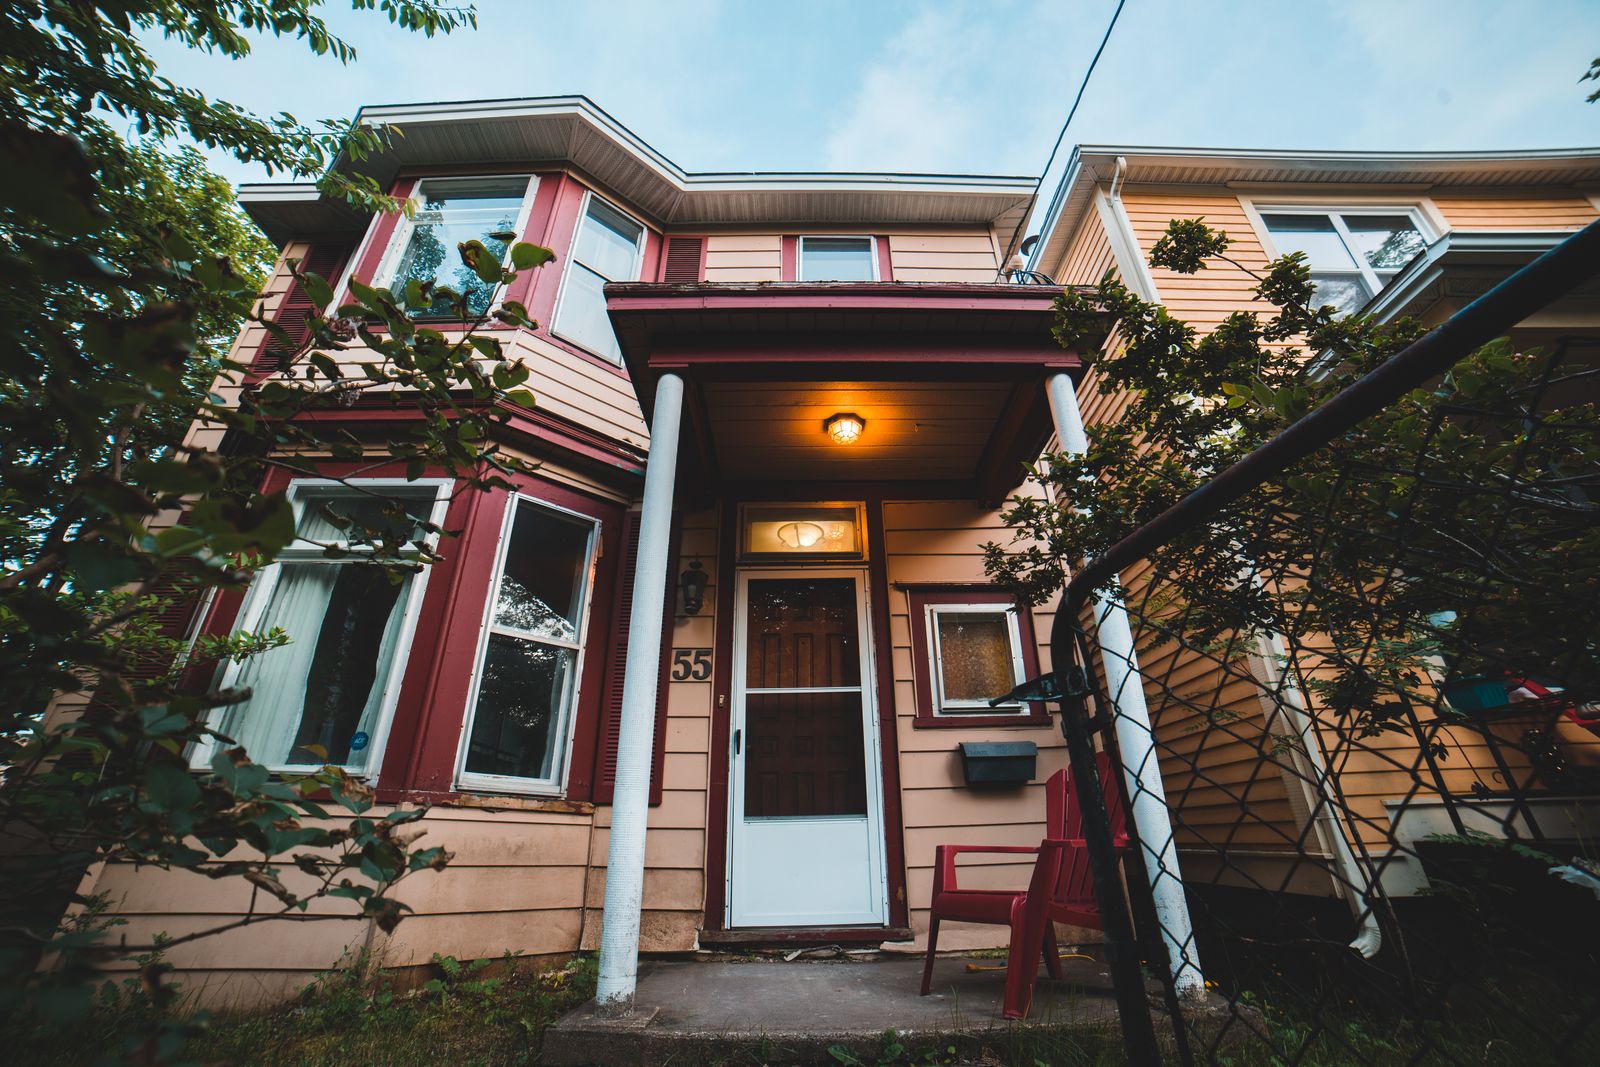
Where to Install House Numbers for Maximum Visibility for Delivery and First Responders
Mount house numbers 48 to 72 inches (4 to 6 feet) above ground level near the street-facing main entryway or prominent garage corner. Ensure an unobstructed 45-degree sightline from 50+ feet down the road and at least 6 to 8 hours of daily direct sunlight for solar panel charging.
Pre-Installation Line-of-Sight & Sunlight Checklist
- Unobstructed line of sight from 50 feet down the approaching roadway in both traffic directions
- Mounted between 48 and 72 inches off the ground (measured from the foot level to the bottom of the sign)
- Positioned within a 45-degree horizontal visual cone of the front entryway or garage focal point
- Receives 6 to 8 hours of direct daily sunlight (unshaded by roof overhangs, deep eaves, or tree canopies)
- Located at least 3-5 feet away from bright continuous ambient night lights (e.g., high-wattage porch lights or floodlights)
- Mounting surface is solid material (brick, vinyl siding, wood trim) using included stainless steel screws and wall anchors
Step-by-Step Guide: How to Mount Solar House Numbers for Maximum Visibility
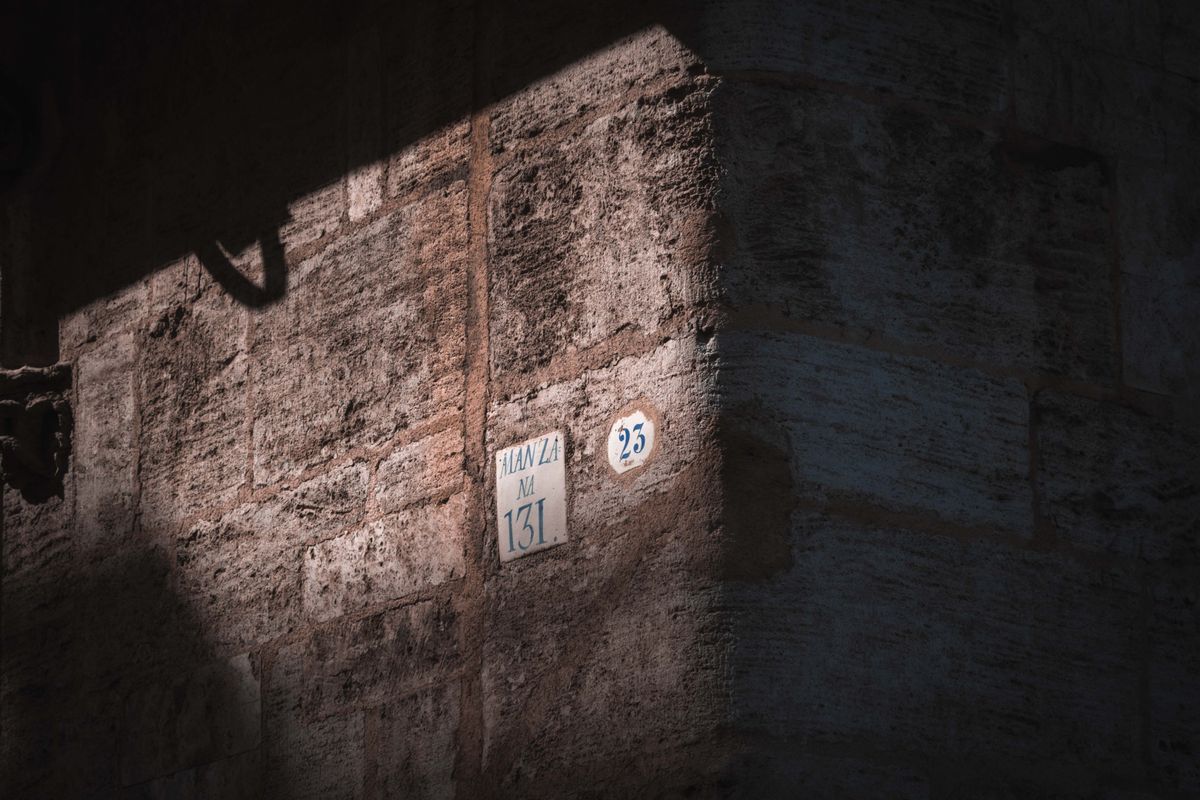
Photo by Francesco Ungaro on Pexels
Installing your solar illuminated address sign correctly requires balancing street visibility with solar panel light collection. Follow these step-by-step procedures to ensure optimal emergency response visibility and consistent 12-hour nightly operation.
Expert Tip: Avoiding Sensor Tripping from Porch and Street Lights
Solar house numbers rely on an internal photodiode light sensor to automatically trigger the warm LEDs at dusk. If you mount your sign directly under a high-wattage porch light or within the light cone of a sodium-vapor streetlight, the sensor may detects ambient lumens and stay turned off all night.
Pro Tip: Maintain a minimum clearance of 3 to 5 feet from porch light fixtures. If horizontal spacing is constrained on narrow pillars, place the solar house sign lower down the wall (at the 48-inch height threshold) so the porch lamp shade casts its light cone past the sign's top-mounted photodiode.
Mid-Installation Field Test: Nighttime Verification
Your decision: Verify if your chosen location provides equal legibility for drivers approaching from both left and right street directions.
Do this next: Temporarily mount the sign with painters tape at dusk and drive past your house at 25 mph with low-beam headlights on to verify visual contrast.
- Read next: How to Position Solar House Numbers for Maximum Sunlight and 12-Hour Nightly Charge
Solar Lighted House Numbers (Colour Name)
Once your mounting location is marked, perform a quick dusk test before permanently sealing masonry anchors.
Key Placement Rules for First Responders & Delivery Drivers
- Height Window: Mount between 48 and 72 inches from ground level for eye-level legibility from emergency vehicle cabs.
- Setback Sightlines: Ensure numbers are readable from at least 50 feet away; use 4-inch minimum digit heights for every 50 feet of road setback.
- Solar Clearance: Ensure top-mounted solar panels receive 6-8 hours of unshaded sunlight to fully charge the internal 600mAh NI-MH battery.
- Weatherproof Durability: IP44 rated ABS & PC composite construction protects internal circuitry against driving rain, freezing snow, and UV radiation.
- Photodiode Separation: Keep signs 3-5 feet away from porch lights to allow dusk-to-dawn automatic activation.
Recommended Solution: Solar Lighted House Numbers
Eliminate the need for electricians or expensive wiring with a high-contrast, self-charging illuminated address plaque designed for all-weather outdoor durability.
Visualizing Sightlines & Placement Flowcharts
Refer to these structural layout specifications when evaluating complex architectural facades, porch overhangs, or deep setback driveways.
5 Critical Address Placement Mistakes That Delay First Responders
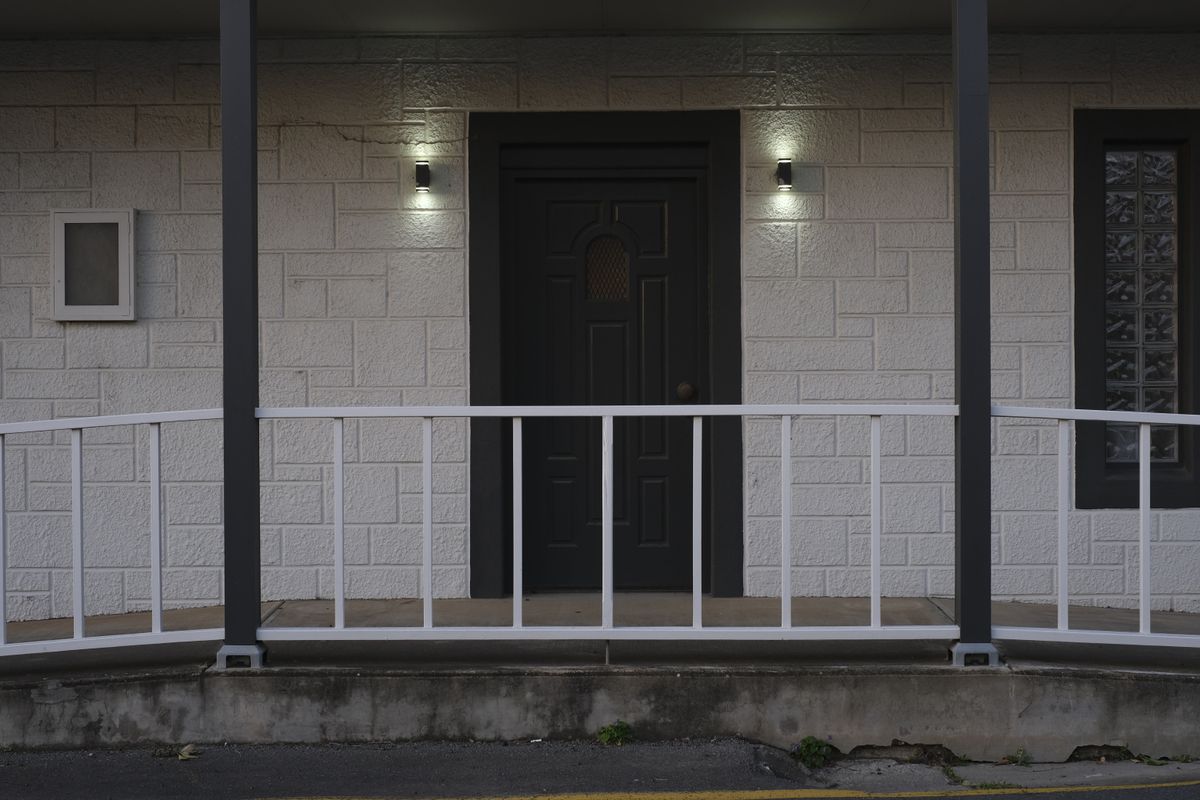
Photo by Matt Webster on Pexels
Avoid these frequent installation pitfalls that render house numbers invisible at night or starve solar panels of necessary sunlight.
Solar Charging & Illumination Daily Operating Cycle
- 08:00 AM – 04:00 PM (Daytime Charging Phase) — Surface-mounted solar panels collect direct sunlight, transferring energy to the internal 600mAh NI-MH battery over a 6 to 8 hour charging window.
- 05:30 PM – 06:00 PM (Dusk Activation Phase) — Ambient light drops below 10 lux. The integrated photodiode light sensor automatically triggers power to the warm LED board.
- 06:00 PM – 06:00 AM (12-Hour Nightly Illumination) — The energy-efficient circuit drives high-contrast LED backlighting, maintaining clear street legibility for up to 12 continuous hours.
- 06:00 AM – 06:30 AM (Dawn Shut-Off Phase) — Morning light activates the photodiode sensor, switching off LEDs and redirecting solar cells back to battery replenishment.
Frequently Asked Questions About House Number Placement
Answers to mandatory municipal code requirements, masonry installation techniques, and light sensor troubleshooting.
Related Guides & Outdoor Lighting Resources
- Where to Install Solar House Numbers for Maximum First-Responder Visibility
- Emergency House Number Visibility Requirements & Nighttime FAQ
- Emergency Address Number FAQ: First Responder Guidelines for House Visibility
Final Action Plan: Securing Your Home's Emergency Sightlines
Your decision: Determine whether your front entrance or garage pillar provides the best combination of 50-foot street visibility and direct daily sunlight.
Do this next: Use the Pre-Installation Line-of-Sight Checklist at dusk and mid-day to verify your chosen installation spot before drilling.
- Read next: How to Position Solar House Numbers for Maximum Sunlight and 12-Hour Nightly Charge
Solar Lighted House Numbers (Colour Name)
Take the final steps to ensure your house numbers remain bright, compliant, and visible year-round.
Cover photo by Erik Mclean on Pexels.