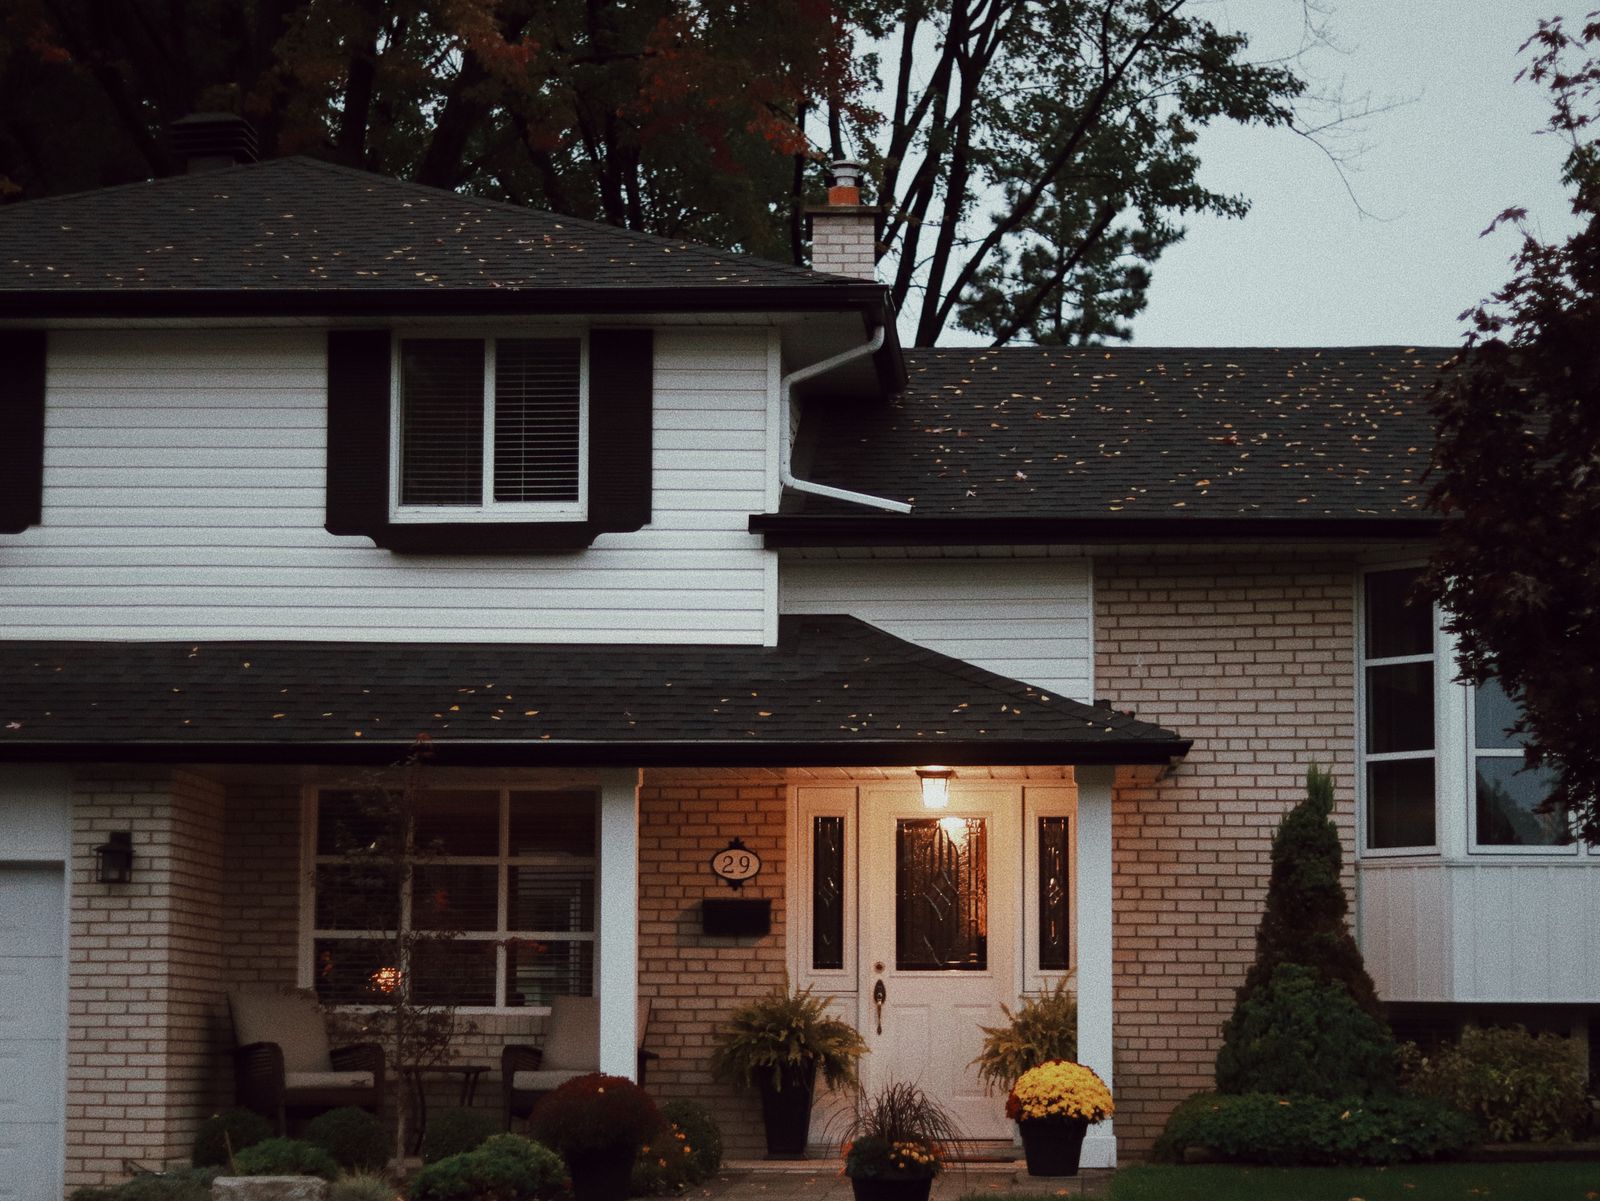
How to Mount Solar House Numbers on Stucco & Stone (Troubleshooting Guide)
To mount solar house numbers on stucco or uneven stone safely, drill anchor holes using a carbide masonry bit in rotary mode without hammer function. Inject 100% exterior neutral-cure silicone caulk into each hole, press in plastic wall anchors, and insert rubber leveling shims behind standoff spacers to keep the solar panel plumb and exposed to direct overhead sunlight.
Stucco & Stone Mounting Tools & Hardware Checklist
- Carbide-tipped masonry drill bit (sized to included plastic expansion anchors)
- Standard electric drill (set to Rotary/Drill mode, NOT Hammer mode for thin stucco)
- 100% exterior neutral-cure clear silicone caulk
- Neoprene or rubber leveling washers / shims (1/8-inch to 1/4-inch thickness)
- Included positioning paper template and stainless steel mounting screws
- Painter's tape and torpedo level
- Solar Lighted House Numbers (with 600mAh NI-MH battery and IP44 ABS housing)
Step-by-Step Guide: Drilling, Anchoring, and Leveling Solar Address Signs
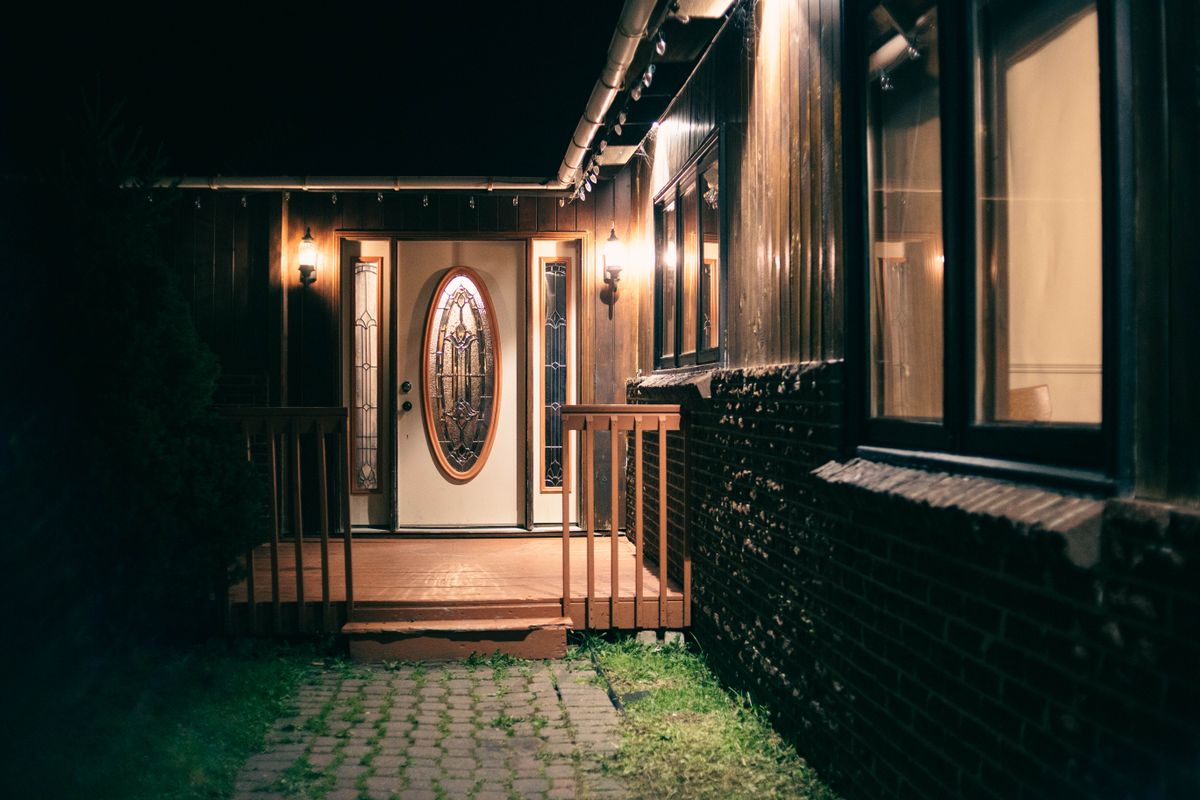
Photo by Erik Mclean on Pexels
Mounting address fixtures to masonry surfaces involves distinct mechanical challenges depending on whether your wall is traditional hard-coat stucco, synthetic EIFS stucco, or stacked ledger stone. Follow these five steps to secure your sign without cracking wall finishes or blocking solar absorption.
Expert Tip: Maintaining Proper Solar Angles on Deeply Textured Surfaces
When installing on deep ledgestone or rugged fieldstone, never force mounting screws tight against protruding rock faces. Over-tightening twists the ABS & PC frame, cracking the housing and pulling the top solar panel backward into the shade of upper stone ledges. Instead, stack rubber washers behind the lower mounting holes to act as custom standoff spacers. This decouples the plaque from surface irregularities, creates a plumb vertical plane, and keeps the top solar panel pointing straight up to catch direct sunlight for a complete 6 to 8-hour charge cycle.
Key Rules for Stucco and Stone Mounting Success
Keep these core masonry principles in mind throughout your installation process.
Side-by-Side Troubleshooting Matrix: Substrate Problems & Fixes
| Substrate / Symptom | Root Cause | Immediate Fix | Preventative Step |
| --- | --- | --- | --- |
| Traditional Stucco Cracking | Hammer drill vibration fracturing brittle cementitious finish | Stop drilling immediately; patch hairline cracks with clear masonry caulk and shift hole location by 2 inches | Use sharp carbide bit in rotary drill mode with light forward pressure |
| Loose Anchor in Hollow Stucco (EIFS) | Standard plastic anchor expanded inside foam insulation core rather than wood sheathing | Extract anchor, inject silicone, and install an EIFS spiral foam anchor or longer stainless screw into stud framing | Tap wall to detect hollow spots before drilling; use EIFS-rated hollow anchors |
| Tilted Solar Panel / Low Battery Charge | Plaque mounted flush against irregular stacked stone, angling panel into lower shadows | Back out screws, place rubber washers over screw shanks behind low spots, re-tighten until panel is plumb | Verify top solar panel has an unobstructed 90-degree view of overhead sky before driving final screws |
| Water Intrusion Behind Plaque | Unsealed drill holes allowing rain to bypass building envelope | Remove sign plaque, pump 100% exterior silicone into anchor bore, reinstall anchor and wipe rim seal | Fill drill holes completely with silicone prior to anchor insertion |
Identify common masonry mounting failures and apply the corrected installation protocol.
Recommended Solution: Solar Lighted House Numbers
Upgrading your home's exterior curb appeal requires address signage built to handle tough exterior surfaces while providing brilliant nighttime visibility for visitors, delivery drivers, and emergency response teams.
Solar Lighted House Numbers combine a sleek black and white design with warm LED illumination that lights up automatically at dusk. Built from weatherproof ABS & PC materials with an IP44 rating, these signs withstand heavy rain, snow, and UV rays without fading or corroding.
Equipped with a surface-mounted solar panel and a high-capacity 600mAh NI-MH battery, charging for just 6 to 8 hours under direct sunlight delivers up to 12 hours of continuous illumination. The included positioning paper and stainless steel hardware make mounting straightforward across stucco, stone, brick, and standard siding.
Visual Mount Schematics: Stucco vs. Stacked Stone Cross-Section
Review the precise hardware layering required for flush stucco versus variable stacked stone substrates to ensure your solar collector panel remains level and fully sealed against rain.
5 Critical Mistakes to Avoid on Masonry Walls
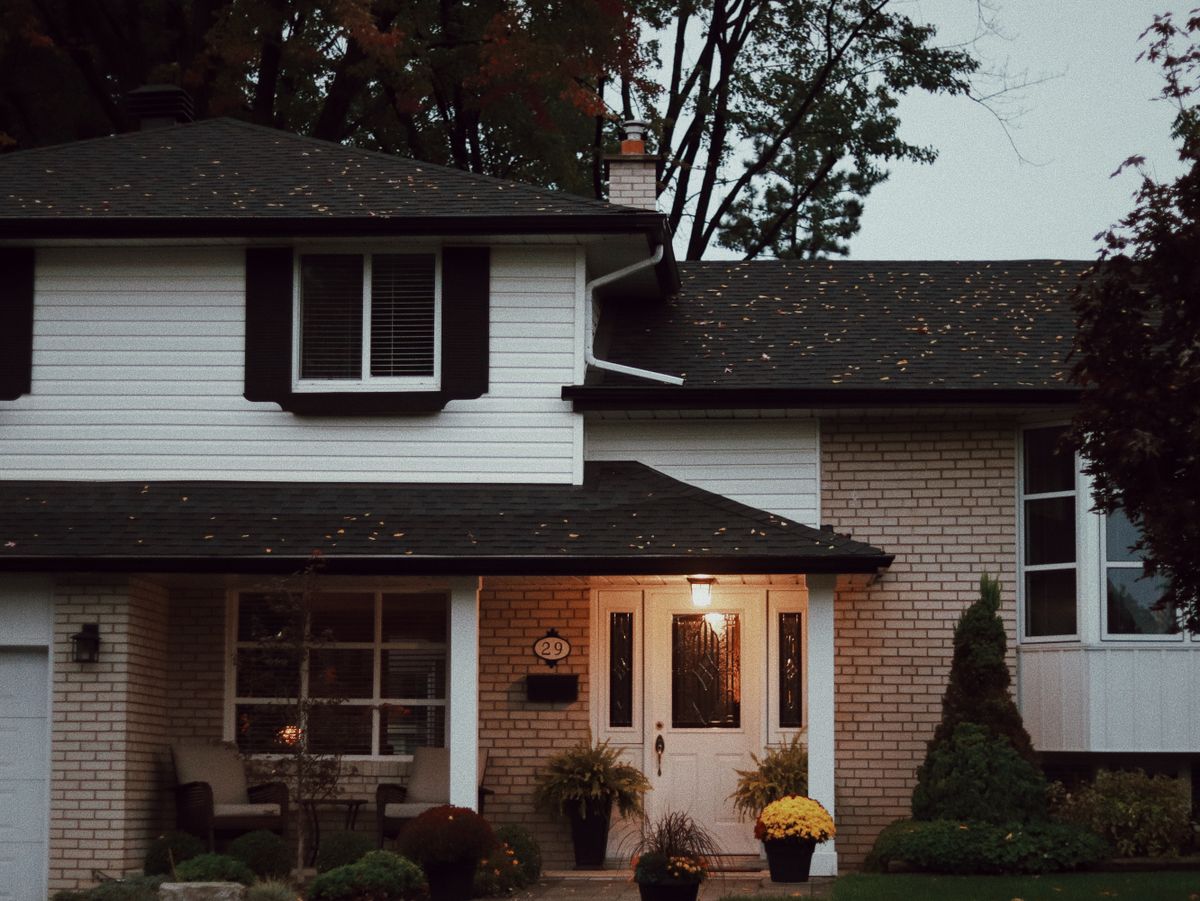
Photo by Dalia Al-Refai on Pexels
Avoid these frequent installation errors to prevent permanent masonry damage, moisture leaks, and premature battery depletion.
Installation & Weather-Curing Timeline
- Minute 0 - 15 — Inspect wall material, position template with torpedo level, and mark mounting points with painter's tape.
- Minute 15 - 30 — Drill pilot holes using a carbide masonry bit in rotary mode; clear all dust from anchor cavities.
- Minute 30 - 45 — Fill cavities two-thirds full with 100% exterior silicone, press anchors flush, and fit rubber leveling shims.
- Minute 45 - 60 — Attach plaque using stainless steel screws. Verify top solar panel is horizontal and unshaded.
- Day 1 (6-8 Hours) — Allow solar panel to receive direct ambient sunlight to charge the 600mAh NI-MH battery fully.
- Night 1 (12 Hours) — Confirm intelligent sensor automatically triggers warm LED lights at dusk for full overnight operation.
Frequently Asked Questions: Stucco & Stone Installation
Clear solutions for common mounting and waterproofing queries on exterior wall surfaces.
Related Guides & Surface Mounting Articles
- Troubleshooting Solar House Numbers: How to Fix Battery, Sensor, and Illumination Issues
- Solar House Numbers Troubleshooting & Maintenance Guide
- Frequently Asked Questions About Solar House Numbers
Next Steps & Action Plan
Your decision: Determine your exterior substrate (hard stucco, EIFS, or stacked stone) and verify local solar panel sunlight angles.
Do this next: Gather a carbide masonry bit, 100% exterior silicone, and rubber shims. Drill pilot holes in non-hammer mode, seal holes, and mount solar house numbers securely.
- Read next: How to Position Solar House Numbers for Maximum Sunlight and 12-Hour Nightly Charge
- Read next: Exterior Mounting FAQ: Surface Prep, Wall Anchors, and Solar Sunlight Angles
Check out Solar Lighted House Numbers featuring warm LED illumination, IP44 weatherproofing, and an intelligent light sensor for automated nighttime operation.
Take these recommended steps to select your hardware, prepare your wall surface, and upgrade your home's curb appeal with solar-powered address illumination.
Cover photo by Dalia Al-Refai on Pexels.