
Solar House Numbers Troubleshooting & Maintenance Guide
Is your solar address sign failing to light up, dimming early, or flickering at night? Most performance drops stem from dirty solar panels, shadowed photodiode sensors, or a degraded 600mAh Ni-MH battery. Clean the solar panel face with a soft cloth, clear obstructing foliage, and perform a 48-hour off-state solar charge reset. If runtime remains below four hours, replace the internal rechargeable Ni-MH cell.
Visual Diagnostic Flowchart
- Does the solar house number light up at all after dark? → Yes: Go to light duration test. No: Cover photodiode light sensor with black electrical tape.
- Does the light turn on when the photodiode sensor is covered? → Yes: Ambient lighting (streetlights or porch lights) is preventing sensor activation. No: Inspect power switch state and battery contacts.
- Are battery springs oxidized, rusted, or wet inside the IP44 housing? → Yes: Clean contacts with isopropyl alcohol, replace cell, and re-seal housing. No: Perform a 48-hour off-state solar charge reset.
- Does illumination last less than 4 hours after a 48-hour charge reset? → Yes: Replace internal 600mAh Ni-MH rechargeable battery. No: Inspect solar collector surface for UV resin yellowing, sap, or tree shadow obstruction.
Symptom-to-Solution Diagnostic Matrix
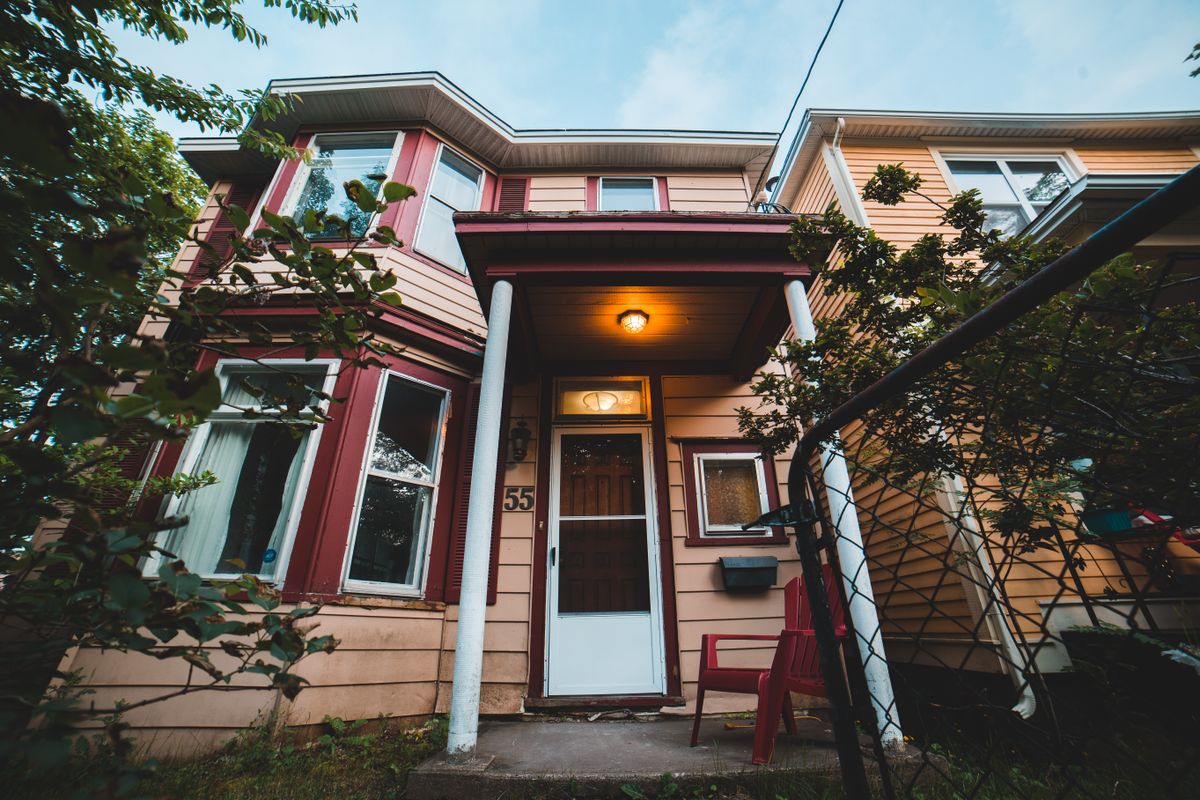
Photo by Erik Mclean on Pexels
| Failure Mode / Symptom | Probable Root Cause | DIY Corrective Fix | Skill Level Required |
| --- | --- | --- | --- |
| Sign remains completely dark at night | Internal switch OFF, ambient light hitting photodiode sensor, or totally depleted 600mAh battery | Confirm switch is ON; shield sensor from streetlights; test battery voltage or swap with fresh 600mAh Ni-MH cell | Beginner |
| Shuts off after only 1-3 hours of illumination | Degraded Ni-MH battery capacity, shortened winter daytime sun hours, or dirty solar collector panel | Clean solar resin collector face; run 48-hr off-state solar charge reset; replace aging 600mAh battery if needed | Beginner |
| Rapid flickering or pulsating LED light | Corroded battery contacts, loose terminal spring tension, or moisture inside PCB housing | Open casing, scrub battery spring contacts with isopropyl alcohol, dry internal housing, check IP44 seal | Intermediate |
| LED output is extremely dim despite 8 hours of sun | Clouded UV resin on solar panel, yellowed PC cover, or aging LED circuit driver | Polishing solar collector surface with micro-abrasive plastic polish; clean black & white ABS housing face | Intermediate |
Match your address plaque's specific operational symptom with probable root causes and DIY repair procedures.
Expert Tip: Restoring UV-Oxidized Solar Panel Collectors
Over 12 to 24 months of continuous sun exposure, the protective resin overlay on outdoor solar panels can develop a cloudy yellow oxidation layer that cuts solar conversion efficiency by up to 50%. To restore optical transparency without scratching the panel: clean the surface thoroughly with warm soapy water, then apply a pea-sized amount of fine plastic polish using a soft microfiber cloth in circular motions. Once clear, wipe away polish residue and spray a light, even coat of UV-resistant clear acrylic finish to protect against future weathering.
Seasonal Upkeep & Inspection Calendar
- Spring — Wipe away pollen, tree sap, and mud buildup from the solar collector using a soft wet cloth. Inspect wall anchors and mounting screws for tightness against masonry or siding.
- Summer — Audit surrounding trees and shrubs for summer foliage growth casting shade between 10 AM and 4 PM. Perform a night runtime check to confirm 10-12 hours of warm LED illumination.
- Autumn — Remove fallen leaves and insect debris. Open battery compartment to check for moisture ingress and inspect IP44 rubber silicone gaskets before autumn rains.
- Winter — Clear snow, ice, and frost off the solar panel face after every snowfall. If low winter sun angles cast roof shadows, temporarily adjust sign placement for maximum sunlight intake.
Annual Address Sign Preventive Maintenance Checklist
- Inspect ABS & PC casing for UV hair-line fractures or seam separation.
- Wipe solar collector face with isopropyl alcohol or warm soapy water to remove tree sap and dust.
- Verify light sensor photodiode is unobstructed by growing foliage or porch overhang shadows.
- Check battery housing contacts for green or white oxide corrosion.
- Ensure wall mounting screws and wall anchors remain tight against masonry or siding.
Repair vs. Replace Decision Tree
- Is the exterior ABS & PC body structurally cracked, broken, or allowing direct water pooling inside the electronic chamber? → Yes: Replace entire solar address plaque unit with an IP44 weatherproof model. No: Inspect solar collector surface and battery housing
- Is the solar panel resin severely delaminated, cracked, or completely yellowed even after polish restoration? → Yes: Replace unit (photovoltaic resin breakdown cannot be permanently reversed). No: Perform battery swap and solar charge test
- Does installing a fresh 600mAh Ni-MH rechargeable battery restore 10-12 hours of nighttime LED brightness? → Yes: Keep sign in service; re-seal battery door tightly. No: Internal PCB driver or dusk-to-dawn photodiode sensor has failed; replacement recommended
Recommended Replacement Components & Address Sign Upgrade
If your existing address fixture has suffered severe UV delamination or internal circuit failure, upgrade to a stylish, weather-tested address plaque designed for long-term outdoor performance.
Core Diagnostic Summary
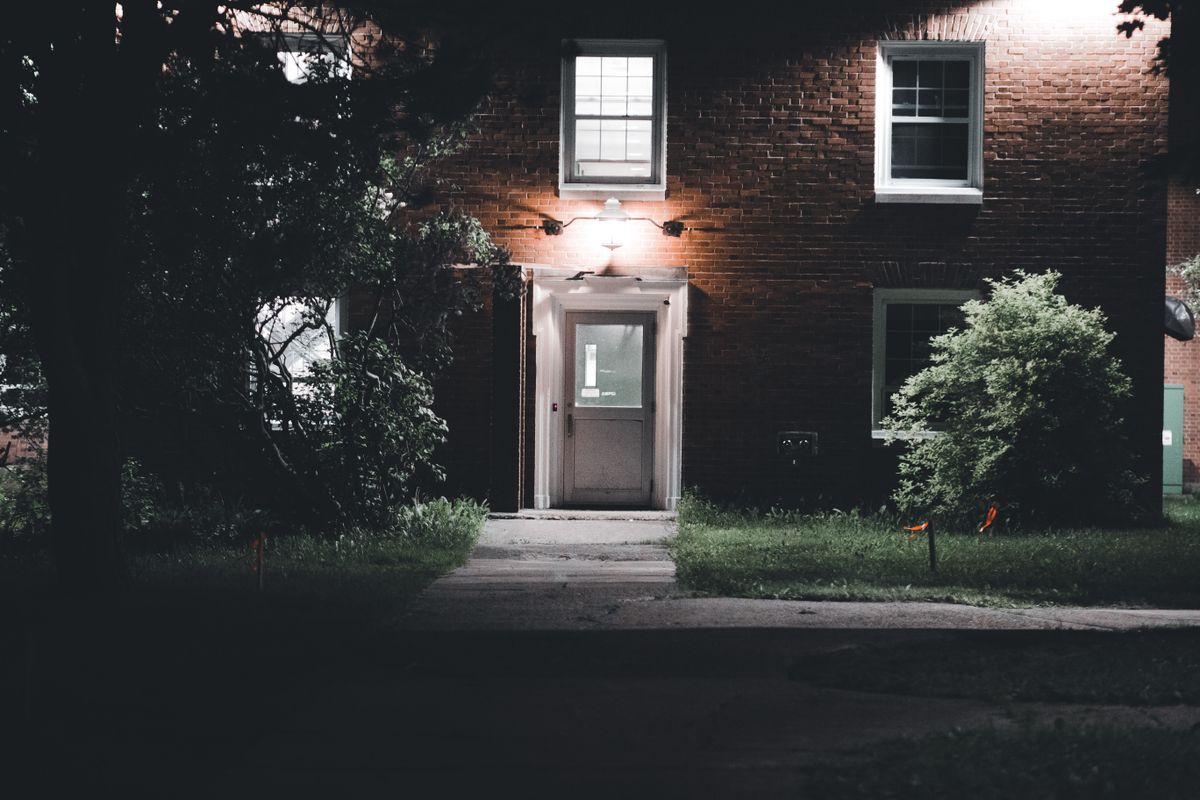
Photo by Erik Mclean on Pexels
Key rules for keeping illuminated solar address numbers operating brightly every night:
- Clean Panels Quarterly: Dirt, pollen, and tree sap act as optical filters, reducing battery charging by up to 60%.
- Use Only Rechargeable Ni-MH Cells: Never install standard non-rechargeable alkaline batteries. Use 1.2V Ni-MH rechargeable cells (600mAh capacity standard).
- Avoid Ambient Light Shadows: Ensure nearby porch lamps or streetlights do not shine directly onto the sign's photodiode, which tricks the dusk-to-dawn sensor into staying off.
- Perform 48-Hour Hard Resets: Reset weak batteries by switching the sign off and exposing it to direct sunlight for two full days before turning it back on.
- Maintain IP44 Seals: Inspect silicone rubber seals and plastic seams before winter to prevent freeze-thaw water damage to internal circuitry.
Step-by-Step Guide: Replacing the Internal 600mAh Ni-MH Battery
Replacing an aging rechargeable battery is a quick 5-minute process that can restore your solar address plaque to factory performance.
Critical Errors That Shorten Solar Address Sign Lifespan
Avoid these common installation and maintenance mistakes that compromise solar charging, cause battery damage, or ruin internal electronics:
- Installing Standard Non-Rechargeable Alkaline Batteries: Inserting standard AA alkaline batteries into a solar circuit causes chemical pressure buildup during solar charging, resulting in battery rupture, acid leakage, and destroyed circuit board traces.
- Mounting Under Direct Ambient Artificial Light: Placing your address plaque directly under a powerful porch light or streetlight keeps the photodiode light sensor illuminated at night, preventing the warm LED lights from activating automatically.
- Ignoring Seasonal Solar Tilt & Shading Changes: Mounting signs beneath deep roof eaves or evergreen branches reduces daylight collection. Sun paths shift lower during winter, causing shadows that block solar collectors.
- Using High-Pressure Water Sprayers for Cleaning: Pressure washing house siding while spraying high-pressure water directly at an IP44-rated sign forces water past rubber seals into the electronics.
Frequently Asked Questions
Answers to common technical questions about troubleshooting solar lighted house numbers.
Action Plan for Restoring Nighttime Visibility
Your decision: Determine if your sign requires solar panel cleaning, battery replacement, or full unit replacement.
Do this next: Clean solar collector face with a warm microfiber cloth and execute a 48-hour off-state charge reset in direct sunlight.
- Read next: How to Mount and Maintain Solar Lighted House Numbers for All-Season Visibility
- Read next: Where to Install House Numbers for Maximum Visibility for Delivery and First Responders
Solar Lighted House Numbers (Modern Black/White IP44)
Follow these action steps to ensure your house numbers remain clear, illuminated, and easy for emergency services and delivery drivers to locate.