Troubleshooting Solar House Number Shadows & Placement Angles
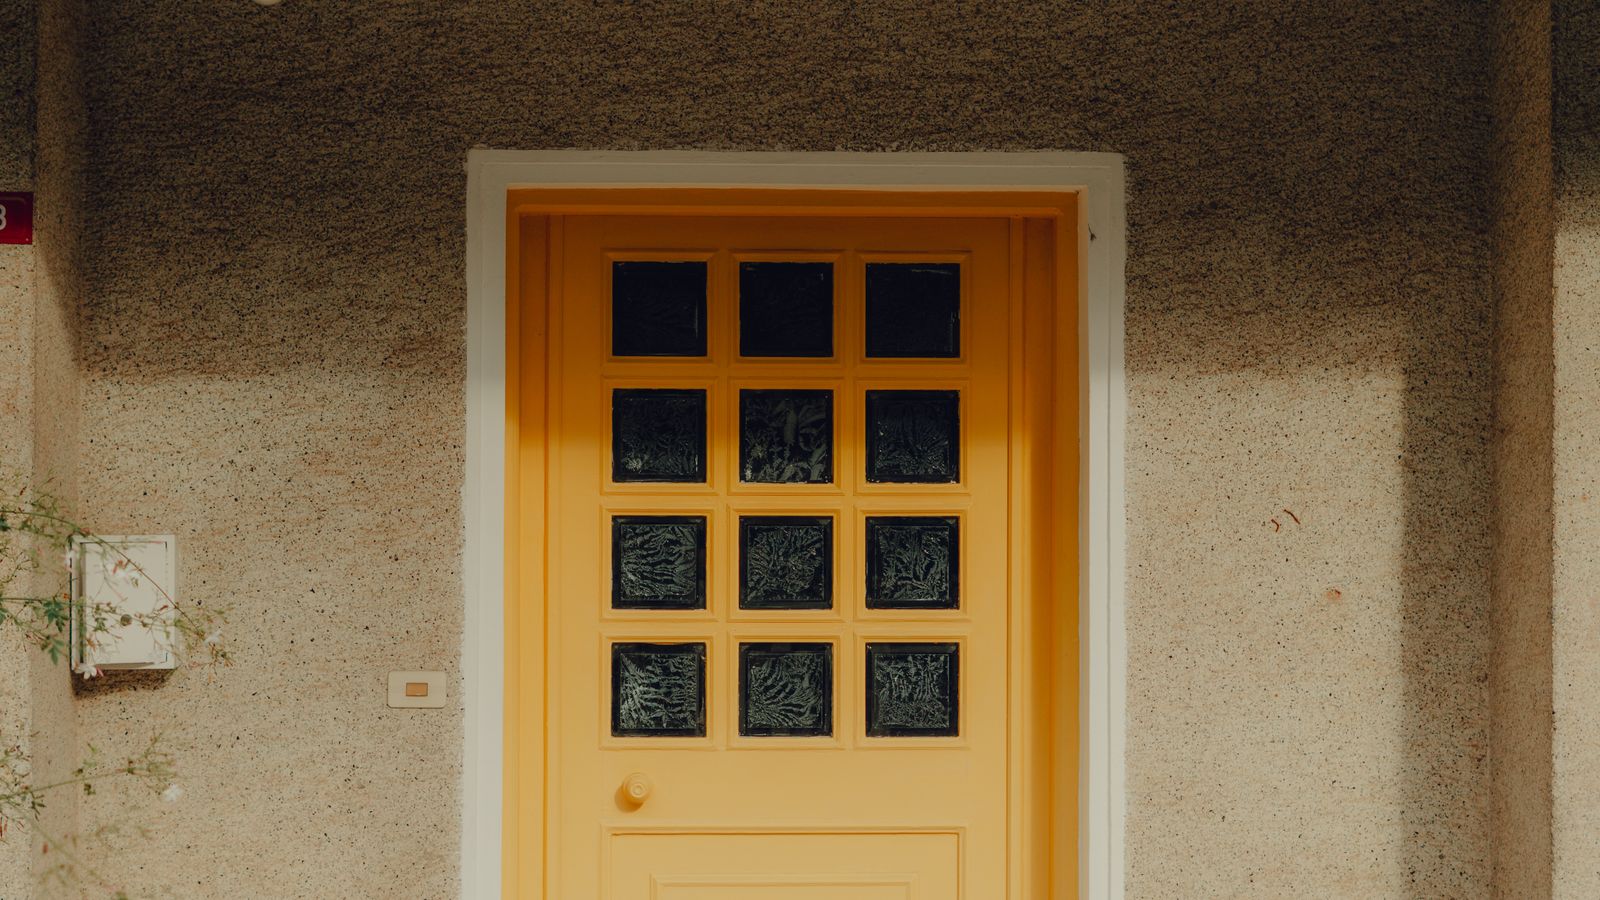
Is your solar house number unreadable due to porch light glare, roof eave shadows, or poor street sightlines? Resolve optical glare by adding a 10-degree downward wedge shim, eliminate eave shadow bands by lowering the fixture 12 inches below roof overhangs, and angle the sign 15 degrees toward oncoming traffic for maximum legibility.
Placement & Visibility Failure Diagnostic Flowchart
- Is the solar house number unreadable at night? → Yes: Proceed to test porch light reflection and driver sightline.. No: Verify daily battery charge level..
- Does direct porch light or floodlight hit the acrylic/glass sign face? → Yes: Failure Mode: Optical Glare Washout. Solution: Install 10° downward shim or horizontal baffle.. No: Check for physical roof eave shadow lines..
- Is the top solar panel shaded by eaves between 10:00 AM and 2:00 PM? → Yes: Failure Mode: Solar Panel Shading. Solution: Relocate fixture 12-18 inches below drip line.. No: Check driver approach angle off-axis..
- Is the sign mounted flat while approaching traffic arrives at >30° angle? → Yes: Failure Mode: Angular Blind Spot. Solution: Add 15° horizontal wedge block facing incoming lane.. No: Inspect LED diodes and internal 600mAh battery state..
Solar House Number Visibility & Placement Troubleshooting Matrix
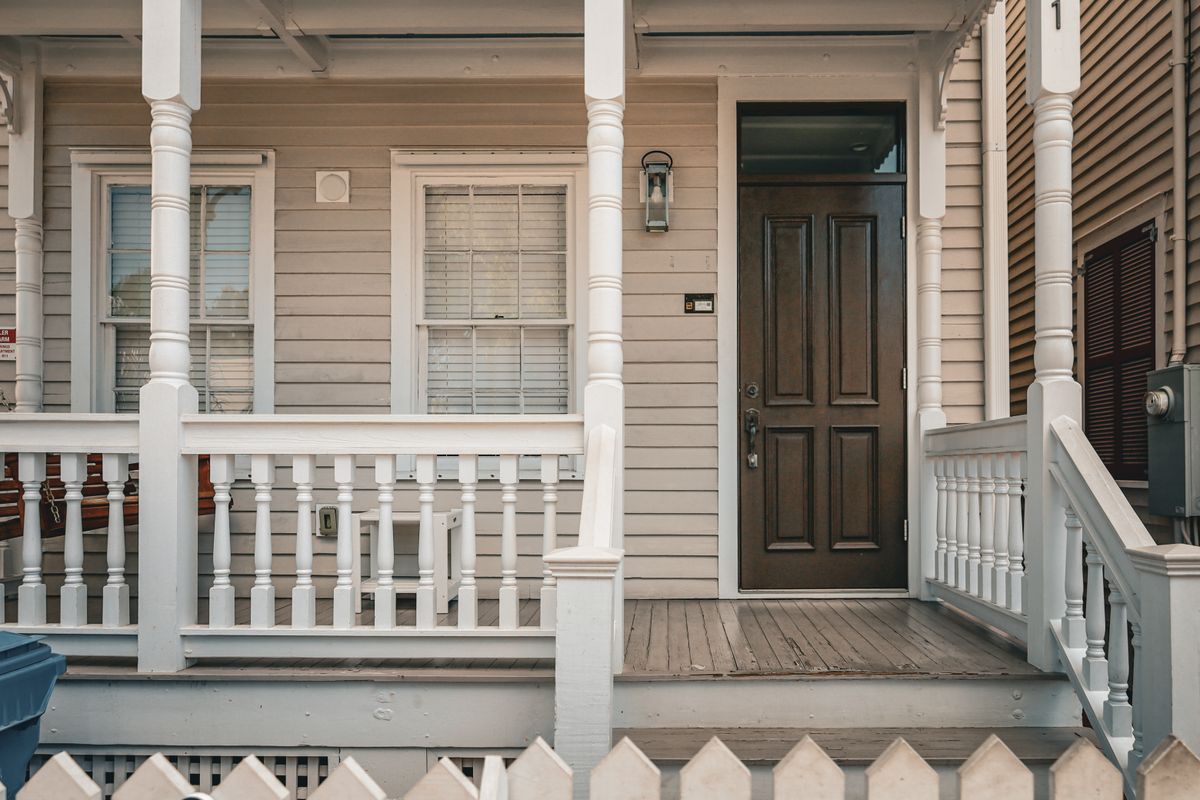
Photo by Arian Fernandez on Pexels
| Failure Mode | Visual Symptom | Root Cause | Corrective Field Fix |
| --- | --- | --- | --- |
| Optical Glare Washout | Numbers bleed together or disappear when porch light is turned on at night. | Direct specular reflection from nearby unshielded bulb bouncing off plaque surface into driver eye line. | Install a 5° to 15° downward wedge shim behind the mounting plaque to deflect direct glare to the ground. |
| Eave Shadow Shading | Internal illumination dies after 2-4 hours, or numbers look dark on top edge. | Overhanging roof soffit casts a micro-shadow across top solar cells during peak midday sun exposure. | Lower mounting position vertically by 12 to 18 inches, keeping panel fully clear of structural drip line shadows. |
| Angular Blind Spot | Address is readable when standing directly in front, but invisible from moving street vehicles. | Sign face mounted 90° flat to wall, creating extreme foreshortening for traffic approaching from side angles. | Insert an asymmetrical vertical edge wedge to swivel plaque face 15° to 30° toward primary traffic direction. |
| Low-Height Headlight Glare | Reflective digit coating creates blinding retro-reflection when headlights strike plaque straight-on. | Fixture mounted exactly at headlight level (24-36 inches) with perpendicular sightline alignment. | Raise sign to standard 48-72 inch eye-level elevation and apply a slight downward face tilt. |
Identify your specific visual failure mode below to immediately pinpoint the optical root cause and apply the mechanical field fix.
Pre-Adjustment Sightline & Clearance Checklist
- Step back 50 feet along the primary vehicle approach lane at night with headlights turned on.
- Check if porch lights, coach lamps, or garage floodlights create direct reflection glare on the sign face.
- Verify that top roof eaves do not cast a visible dark shadow band across the top solar panel at 12:00 PM.
- Confirm the sign face sits perpendicular to the driver's direct line of sight (angled if house sits on a curve or setback).
- Ensure the top solar panel receives a minimum of 6 to 8 hours of unimpeded daylight for full 12-hour night illumination.
Corrective Action Decision Path for Complex Entryways
- Is the mounting surface brick, stone, vinyl siding, or flat trim? → Yes: Identify surface material to select anchor and shim type.. No: Re-evaluate wall placement options.
- Is the wall located beneath a deep roof soffit (>12 inches deep)? → Yes: Use vertical drop bracket or lower mount point 12+ inches to preserve solar charging clearance.. No: Standard wall mounting height (48-60 inches) is acceptable.
- Does the street approach curve sharply toward the house? → Yes: Mount using a 15-30 degree angled swivel bracket or custom wooden wedge shim.. No: Flush wall mount with 5-10 degree downward tilt is optimal.
Essential Placement Principles
- Maintain 12-Inch Eave Clearance: Roof overhangs create shadow zones that starve solar cells of midday charging light.
- Deflect Direct Light Wash: Porch lights within 4 feet of address plaques require downward angle shims to prevent glare.
- Aim for 50-Foot Sightlines: Angling sign faces 15 degrees toward incoming road traffic dramatically increases driver recognition time.
- Choose Warm LED Diffusion: Modern black-and-white plaques with warm LED backlighting eliminate optical harshness under external illumination.
Field Quick-Reference Sheet: Angles & Clearance Rules
- Vertical Mounting Height: 48 to 60 inches above finished grade.
- Minimum Eave Overhang Clearance: 12 inches below bottom of soffit fascia.
- Optimal Vehicle Approach Angle Tilt: 15 degrees inward toward approaching traffic lane.
- Anti-Glare Down-Tilt Angle: 5 to 10 degrees downward from top edge.
- Solar Charging Benchmark: 6 to 8 hours direct sun exposure = 12 hours night runtime.
Mounting Fix Comparison: Shims vs. Drop Brackets vs. Relocation
| Adjustment Method | Installation Effort | Glare Reduction | Sunlight Impact | Sightline Gain |
| --- | --- | --- | --- | --- |
| Downward Wedge Shim (5°-10°) | Low (Uses existing screw holes with wedge block) | High (Deflects overhead bulb reflection groundward) | Neutral (Slightly improves direct sun angle) | Moderate (Reduces vertical eye reflection) |
| Horizontal Angled Block (15°-30°) | Medium (Requires directional alignment marking) | Moderate (Redirects side light reflections) | Neutral (Maintains top panel sun access) | High (Eliminates severe driveway approach blind spots) |
| Vertical Drop Extension Bracket | Medium (Extends plaque downward below soffit) | Neutral (Does not alter vertical angle) | High (Restores 100% unimpeded solar charging) | Moderate (Places plaque closer to eye level) |
| Full Fixture Relocation (To Fence/Post) | High (Requires new mounting substrate & testing) | High (Moves completely away from porch light zone) | High (Optimizes sun exposure away from roof shadow) | High (Places plaque adjacent to curb access) |
Evaluate the technical tradeoffs between angle shims, drop extension brackets, and full fixture relocation.
Optimized Address Signs for High-Glare & Angled Sites
Upgrading to a high-contrast solar address plaque engineered with glare-diffusing materials and built-in dusk-to-dawn sensors eliminates nighttime legibility failures.
Visual Alignment Specifications & Cross-Sections
Reference these architectural cross-sections and sightline layout diagrams to resolve clearance and glare issues.
Interactive Street Sightline & Glare Placement Calculator Brief
Calculate the exact vertical offset and shim angle required for your specific property geometry.
Step-by-Step Fixes for Shadow Glare and Street Sightline Offsets
Step 1: Conduct a Driveway Night Sightline Audit
Wait until full dusk. Drive a vehicle 50 feet away down your street or driveway. Turn on low-beam headlights and switch on all nearby exterior lights (porch lights, garage floodlights). Note if the numbers wash out due to reflection, if top shadow lines obscure the digit face, or if the angle forces extreme eye strain.Step 2: Measure Midday Eave Shadow Lines
At solar noon (between 11:30 AM and 1:30 PM), check where the shadow band of your roof eave or soffit falls on your mounting wall. If the top solar panel of your address plaque is intersected by shadow, measure down until you find continuous direct sunlight. The fixture must be mounted at least 12 inches below deep roof eaves to ensure the 600mAh NI-MH battery gets 6 to 8 hours of uninterrupted sunlight for a full 12-hour night illumination cycle.Step 3: Install an Anti-Glare Downward Wedge Shim
If porch lamps mounted adjacent to your sign cause direct specular reflection, loosen the mounting hardware. Fabricate or insert a 5° to 10° UV-resistant wedge gasket behind the top mounting bracket. Tilting the top edge outward forces direct lamp reflections to bounce downward toward the porch floor rather than back into the eyes of approaching drivers.Step 4: Calibrate Angular Alignment for Approaching Traffic
If your home sits on a bend or has a long setback, flat wall mounting makes numbers appear compressed and unreadable from a distance. Mount a 15° to 30° horizontal wedge block behind the wall plaque, aiming the sign face directly toward the center of the approaching traffic lane. Test visibility again from 50 feet away to confirm clear digit distinction.Critical Placement Mistakes That Ruin Nighttime Legibility
- Tucking Signs Directly Under Soffits: Mounting address plaques right beneath deep roof overhangs blocks peak charging sunlight, cutting internal battery life down to 2-3 hours per night.
- Ignoring Specular Reflection Angles: Placing glossy or flat glass address plaques directly adjacent to unshielded clear-glass porch bulbs creates an unreadable hot-spot glare.
- Mounting Flush on Curved Approaches: Installing plaques flat against a wall when street traffic approaches at an angle creates extreme visual foreshortening, making 4-inch numbers look like unreadable lines.
- Forgetting Seasonal Sun Shift: Positioning solar panels during high summer without accounting for lower winter sun angles that push eave shadow lines 6 to 12 inches lower down the wall facade.
Frequently Asked Placement & Glare Questions
Get answers to common installation and visibility questions for outdoor solar address plaques.
Immediate Action Plan for Perfect Alignment
Your decision: Determine whether your visibility issue stems from porch glare, eave shadows, or approach angle offset.
Do this next: Perform a nighttime 50-foot driveway walk-test, record the visual failure mode, and apply the corresponding wedge shim or vertical offset fix.
Related resource: Download our printable Field Quick-Reference Sheet for address sign height and clearance rules.
Upgrade to high-contrast Solar Lighted House Numbers featuring warm LED backlighting and IP44 weather resistance to prevent optical glare wash.
Follow these final steps to verify your address sign visibility and ensure emergency drivers and delivery services can locate your home instantly.