Troubleshooting Solar House Numbers: What to Do When Your Address Sign Isn't Charging Properly
When a solar address sign isn't charging properly, troubleshooting solar house numbers starts with placement, not a new LED. Shade, a dirty panel, snow, a deep eave, or a north wall can starve the 600mAh NI-MH battery so dusk-to-dawn lighting never starts. Move the plaque to open sky on a wall, mailbox, or yard post, clean the glass, and only then consider the cell.
Charging properly is a sky problem
An address sign isn't charging properly if it sits in "bright shade" — a porch that looks lit at noon but throws no sharp shadow. Walk the facade with your hand. No sharp shadow, no useful charge. That is the first thing to do in this troubleshooting guide.
Remove the battery tab if it is still in. Switch on. Wipe pollen. After storms, check that IP44 gaskets did not leave condensation on the tray. Give a full sunny day; indoor lamps are not a proper charge.
If charging looks fine (cover the sensor after dark and the LED wakes) but nights still fail in place, you have a light-sensor glare issue, not a charge issue. Separate those paths.
Placement moves that restore charging
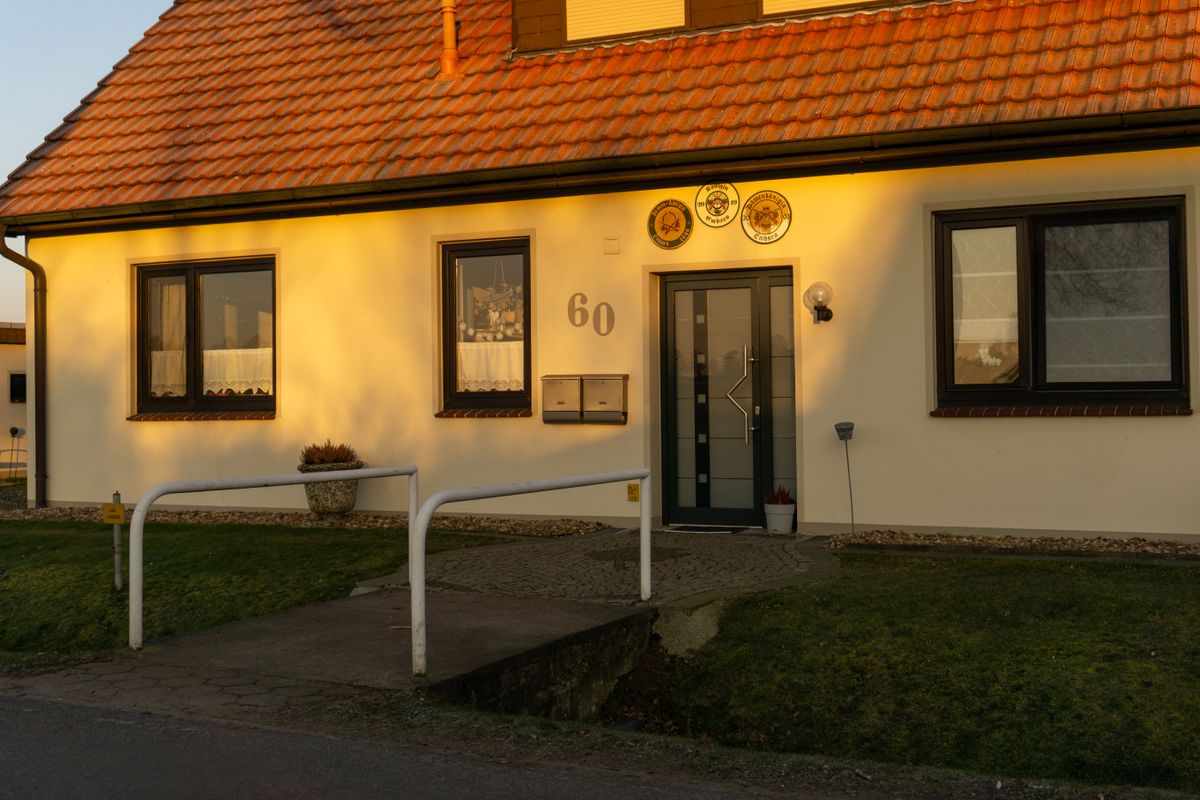
Photo by Muhammed Hanefi on Pexels
What to do: slide from a soffit to a shallower course. Move from a vine-covered wall to a mailbox. Move from a hidden courtyard to a yard post at the drive. Solar house numbers need the panel in the weather they are rated for — IP44 splash — and the sun they are not rated to invent.
Glow stickers do not charge. Hardwired lights do not diagnose solar placement. Keep troubleshooting on the solar path.
Charging vs placement vs other types
| Situation | Isn't charging properly because | What to do | | --- | --- | --- | | Deep eave | No sky | Lower or move off the wall | | North winter wall | Low sun | Mailbox or yard | | Dirty panel | Film blocks charge | Soft-cloth clean | | Snow cap | Covered cell | | Porch glare (LED off in place, on when covered) | Sensor, not charge | Re-aim | | Glow sticker comparison | Irrelevant | Ignore | | Hardwired nearby on | House has power | Still a solar placement job |
Troubleshooting solar house numbers when the address sign isn't charging properly is almost always a placement or cleanliness job.
Placement, visibility, and install checklist
- [ ] Hand-shadow test at 10 a.m. and 3 p.m. on the current mount.
- [ ] If no sharp shadow, relocate to wall, mailbox, or yard sky.
- [ ] Clean the panel; clear snow and leaves.
- [ ] Tab out, switch on, gaskets seated.
- [ ] Full sunny day before the next night test.
- [ ] Cover-test to separate charge from sensor.
- [ ] Rehang with positioning paper if the move changes height.
- [ ] Keep numerals readable from about 50 feet on the new mount.
- [ ] Same-chemistry cell only after a proven sunny spot fails.
Frequently asked questions
Photo by Artūras Kokorevas on Pexels
What should I do first when the address sign isn't charging properly?
Check sun and glass. Troubleshooting solar house numbers without a sky check wastes the battery.
Can a mailbox charge better than the house?
Yes, when the box sits in the open and the wall does not.
Does cloudy weather mean it isn't charging properly?
Cloudy weeks reduce charge. That is weather, not always a defect. After sun returns, proper charging should resume if placement is good.
Should I replace the sign immediately?
No. Do the placement and cleaning steps. Replacement is last.
Will a higher mount always charge better?
Only if it sees more sky. A higher eave can be worse.
Related reading
- how solar address signs charge in cloudy weather
- troubleshooting battery runtime
- solar panel and battery storage guide
- how to install solar lighted house numbers
What to do next
Do the hand-shadow test on the current mount. If the address sign isn't charging properly, move solar house numbers into real sky, clean the panel, and retest after one sunny day. That is the troubleshooting order that actually refills the 600mAh NI-MH battery.
Cover photo by Mathias Reding on Pexels.